Added: 22 August, 2007
Group: Photoshop
Creating the Photoshop CS3 Icon Tutorial
Author: Jason
page: 1
Creating the Photoshop CS3 Icon Tutorial
Here you can look out a simple exemplification how to create the Photoshop icon. The rules are simple, all you have to do is follow the instructions.

Made with the new Photoshop CS3 but will most likely work with previous versions up to at least 7.
Step 1. New Document.
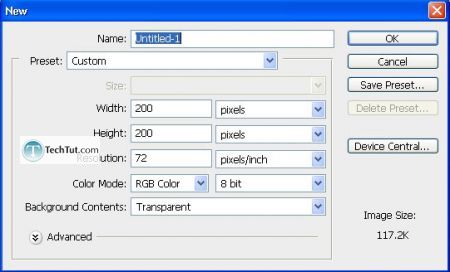
RGB, 8 bit, 200px by 200px.
Step 2. Get out the Rounded Rectangle Tool.
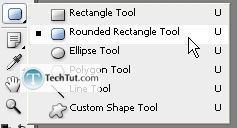
With the following settings:

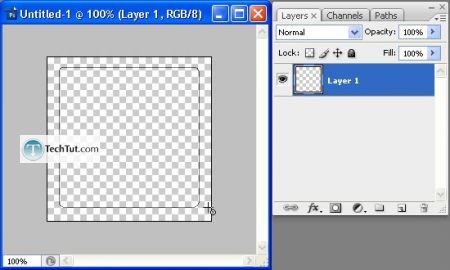
Hold down Shift while making this shape to make a perfect rounded square.
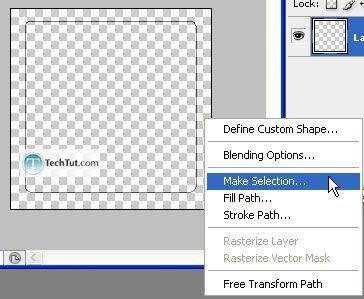
Right-click and then Make Selection.
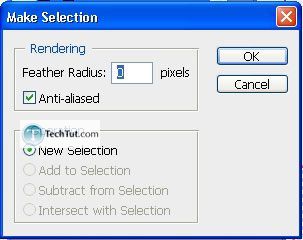
Foreground color:
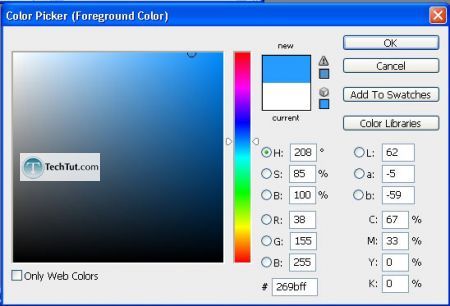
Background color:
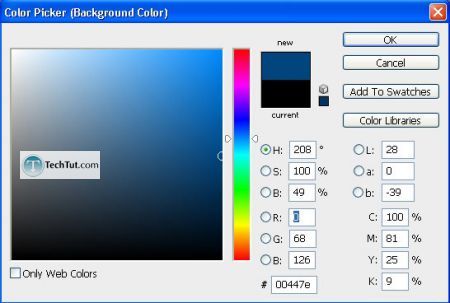
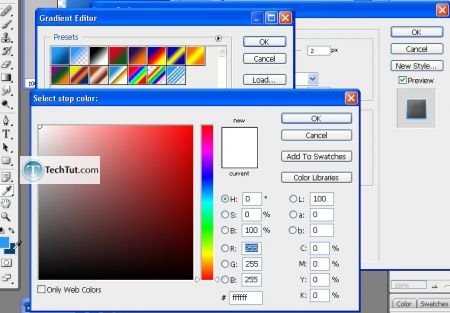
Gradient settings:

Make a gradient like such:
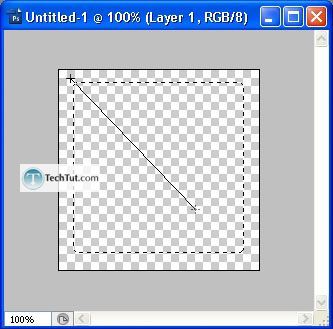
And if you press Ctrl + D to deselect the selection, then it should look like this:

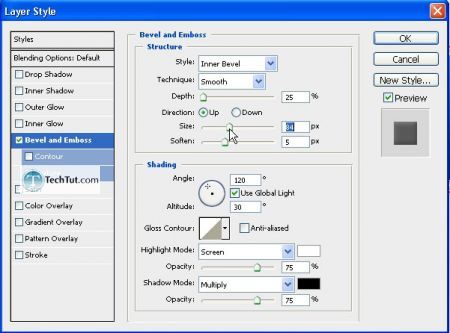
Step 3. Add a Bevel and Emboss.
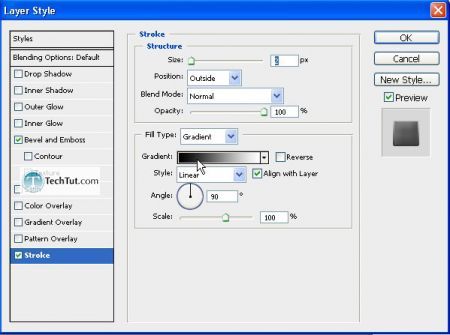
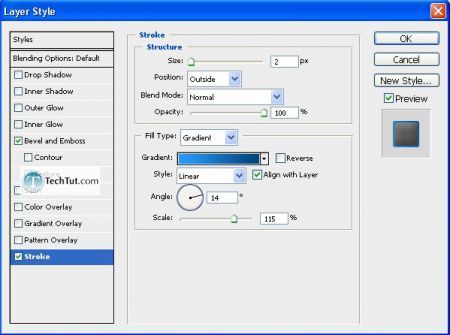
Add a stroke next:
Step 4. Enter in Ps in white text:
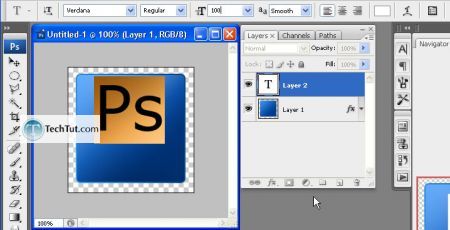
Now, lets add in a reflection. Create a new layer but Ctrl + Click on the main layer where our main shape is.
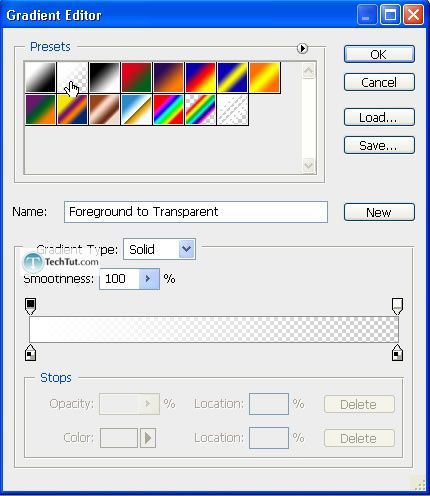
With a white foreground, make sure you have these following gradient shapes:


Make the following marquee selection (or something similar):
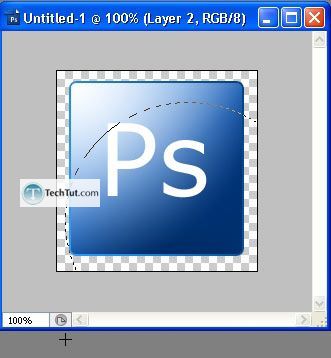
Now press Del.

And finally lower the opacity to 60%.
Step 5. Adding in a glow and, of course, the white background.
Create a new layer below all others. Press D to reset to black foreground and white background. Press X to switch those two. Then Alt + Backspace to fill with white.
Double-click on our main layer:
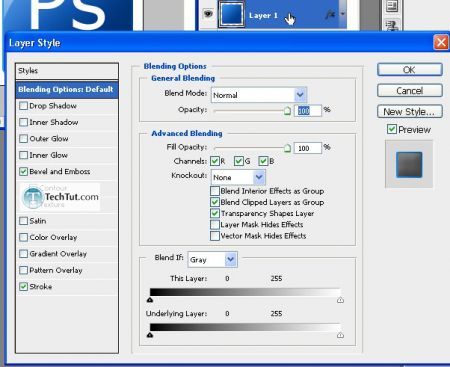
And then set an outer glow:
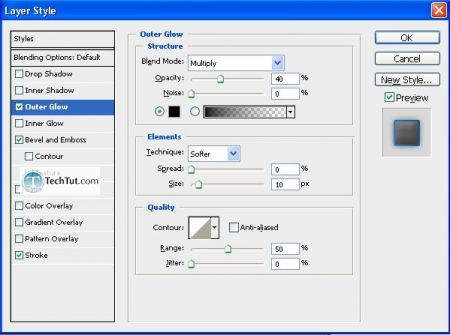
Alternatively, you could have set a drop shadow, but there we have it: our own CS3 Icon!
Final:

GO to: Page 1 : Creating the Photoshop CS3 Icon Tutorial
TechTut.com This tutorial is copyrighted. Partial duplication or full duplication is prohibited and illegal. Translation or usage of any kind without author�s permission is illegal.

 Join our RSS feed
Use our RSS feed to get the latest published tutorials directly to your news reader.


