Added: 25 September, 2007
Group: Photoshop
Creating a cigarette using Adobe Photoshop
Author: Photoshoper
page: 2
Create Cigarrete in Adobe Photoshop part 2
10.Now hold CTRL and left click on the "filter" and "base" layer to select all layers except Background, then right click on one of them, and Merge Layers
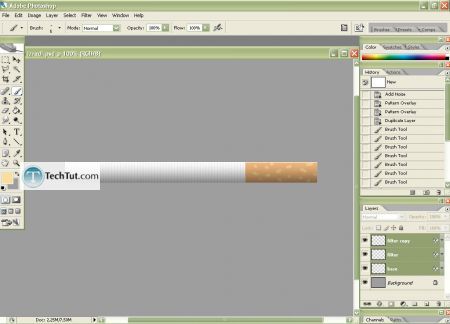
11.Right click on the layer and rename it to "cigarette"
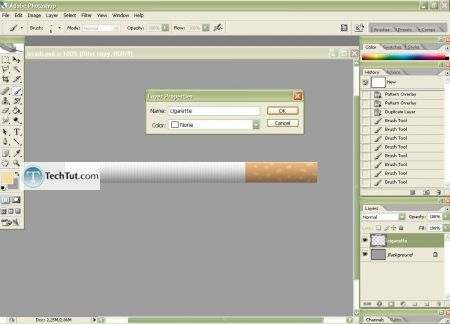
12.So this should not be a no-name cigarette, and I'm now going to make a Label:)
Layer> New> Layer and select the Horizontal Type Tool(T)
Choose Font, also choose foreground color, and type whatever you want, now go to Edit> Transform> Rotate 90 CW, place the Label on the cigarette, right click on the layer> Rasterizing Layer, and use Eraser Tool to erase the parts that are peeking over the cigarette, lower the opacity to about 85% and the result should be something like this
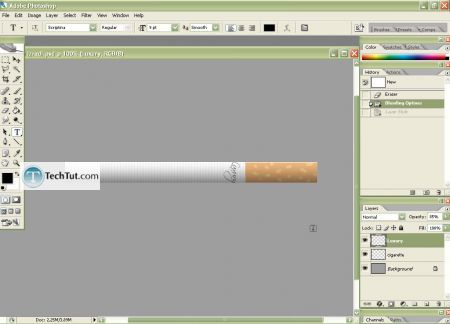
13.Because the label is "Luxury" I'm going to give this cigarette a fine tuning with a silver line to make it more fancy.
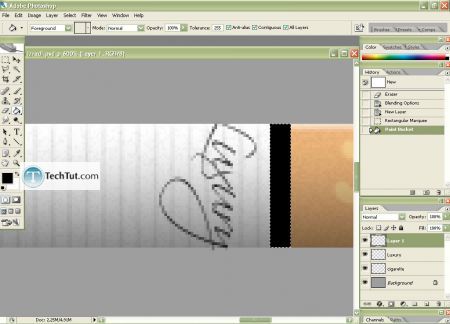
Make a new layer, and use the Rectangular Marquee Tool(M) to make a selection and fill it with color( no matter which, because the blending options will turn it into silver)
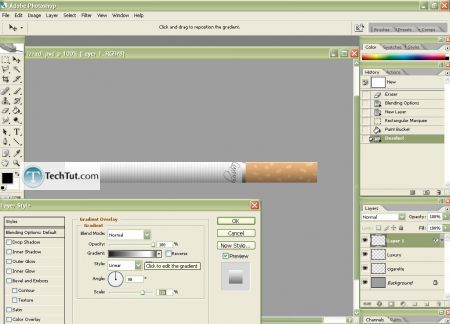
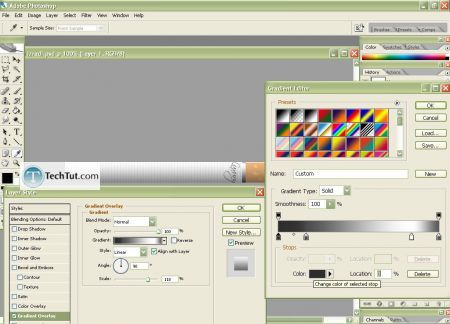
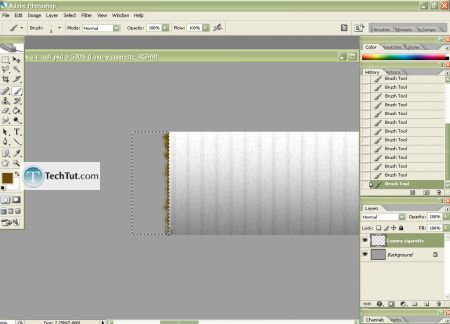
14.Merge layers, make a selection with the Rectangular Marquee Tool(M) and draw some tobacco
15.At the end I've filled the Background with white and added a shadow to my cigarette and used Dodge Tool to lighten the top of the filter to make it more real!
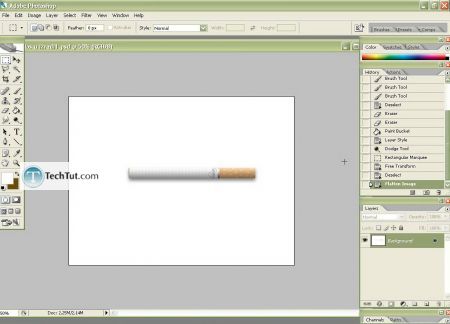
Enjoy
GO to: Page 1 : Create Cigarrete in Adobe Photoshop part 1
GO to: Page 2 : Create Cigarrete in Adobe Photoshop part 2
TechTut.com This tutorial is copyrighted. Partial duplication or full duplication is prohibited and illegal. Translation or usage of any kind without author�s permission is illegal.

 Join our RSS feed
Use our RSS feed to get the latest published tutorials directly to your news reader.


