Added: 12 October, 2007
Group: Photoshop
Car tuning photoshop tutorial lowering
Author: Photoshoper
page: 1
Lowering your car in photoshop
In this tuning car tutorial, I will show you how you can lower your car using several tools in photoshop.
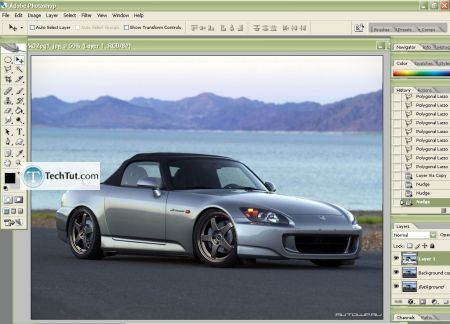
To lower your car, first you need to open the particular photo.
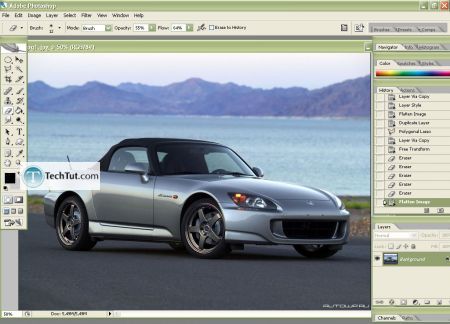
1. First use the Polygonal Lasso Tool(L) to select the Area around the Car something like this.
It's important to draw the Lines at the best position so the image at the end look's like it's real, and to avoid further corrections, or to minimize the work after, if the Angle is difficult.
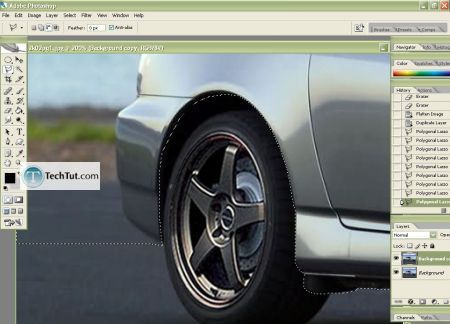
2.Picture
Now hit Ctrl+C and then Ctrl+V to copy and paste the selected part of the layer.
Select Move Tool(V) and drag the new Layer(car body)with your mouse, or much better- hold the CTRL and press the downwards arrow till you are satisfied with the new look of the car.
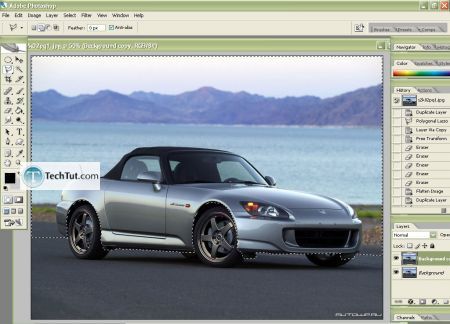
3.Now the car is lowered.
Hit CTRL+Shift+E to flatten the layers and you've have a Car that is able to catch a curve with 60MPH!

Thats all.
GO to: Page 1 : Lowering your car in photoshop
TechTut.com This tutorial is copyrighted. Partial duplication or full duplication is prohibited and illegal. Translation or usage of any kind without author�s permission is illegal.

 Join our RSS feed
Use our RSS feed to get the latest published tutorials directly to your news reader.


