Added: 11 November, 2007
Group: Photoshop
Create realistic iPod in Photoshop
Author: Photoshoper
page: 1
Create iPod using Photoshop part 1
In this tutorial you will learn how to create realistic looking iPod using nothing but Adobe Photoshop.
1. Open a new document
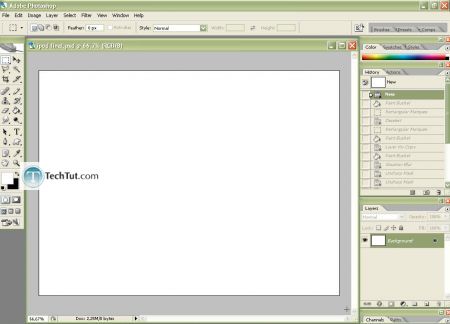
2. Use the Rectangular Marquee Tool(M) to make iPod base, right click on it> Layer via Copy, and name it "base", now select the "Background" layer,
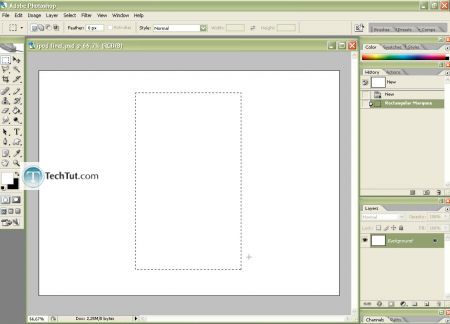
2,1. switch the foreground(white) and background(black) color,and 2,2. fill the background with black with Paint Bucket Tool(G)
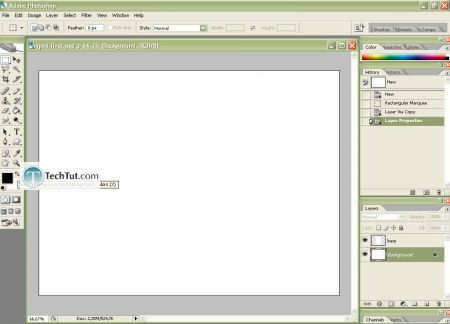
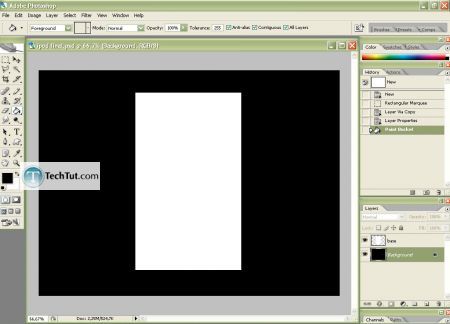
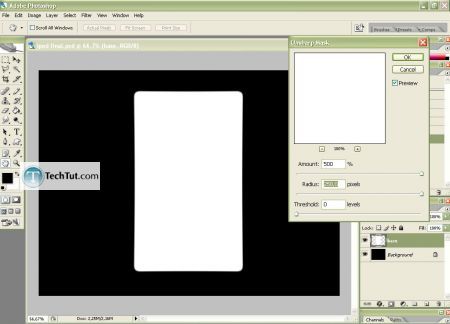
3.To make the edges of the "base" round select the "base" layer go to Filter> Blur> Gaussian Blur...
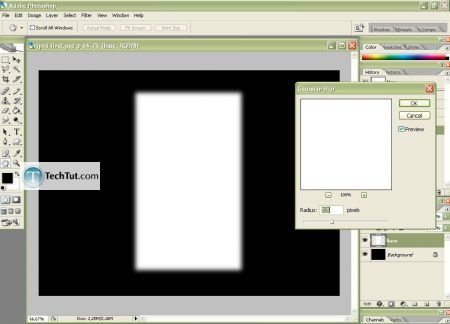
3,1 now go to Filter> Sharpen> Unsharp Mask and set the Amount and Radius sliders to the maximum, and do it again, but this time with the sliders to about the middle to sharpen it a little bit more
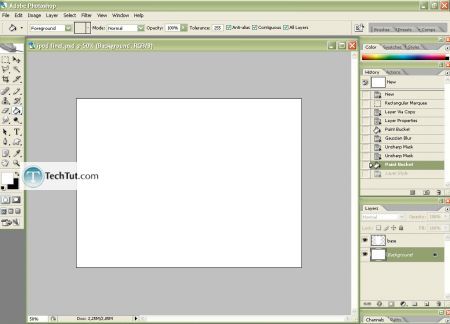
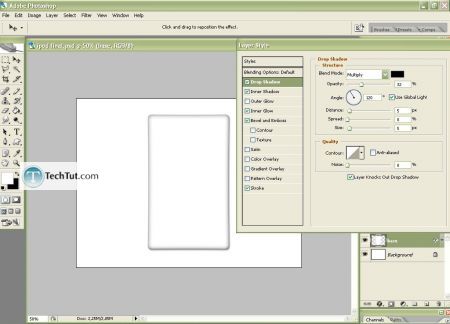
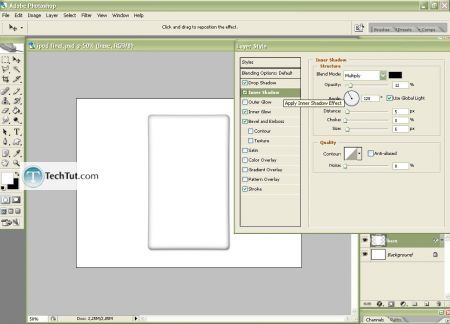
4. Fill the background with white, and set the Blending Options of the "base" layer something like this:
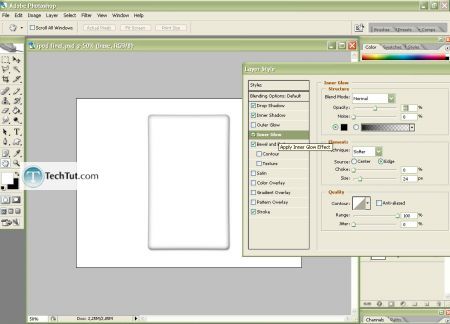
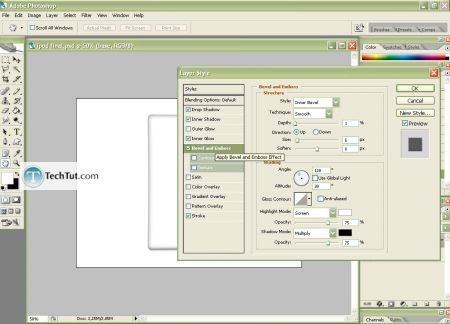
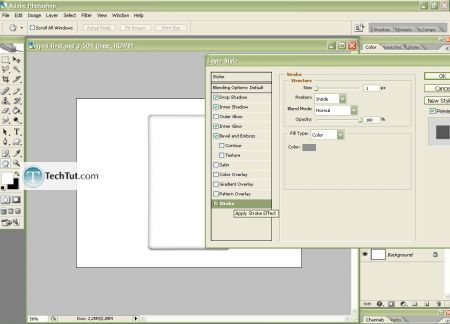
GO to: Page 1 : Create iPod using Photoshop part 1
GO to: Page 2 : Create iPod using Photoshop part 2
GO to: Page 3 : Create iPod using Photoshop part 3
GO to: Page 4 : Create iPod using Photoshop part 4
TechTut.com This tutorial is copyrighted. Partial duplication or full duplication is prohibited and illegal. Translation or usage of any kind without author�s permission is illegal.

 Join our RSS feed
Use our RSS feed to get the latest published tutorials directly to your news reader.


