Added: 10 September, 2007
Group: 3D studio max
Realistic looking computer case
Author: TechTut.com
page: 1
Computer case object in 3D max part 1
Creating a computer case is what 3 D studio max is all about. Well explained and easy to administer this tutorial has everything you need, simply go through it.
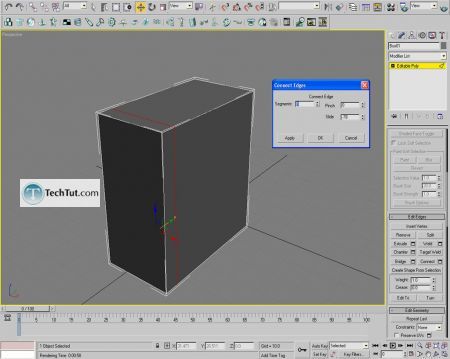
First crate a box and convert to editable poly. Then select lines like on picture and press connect button.
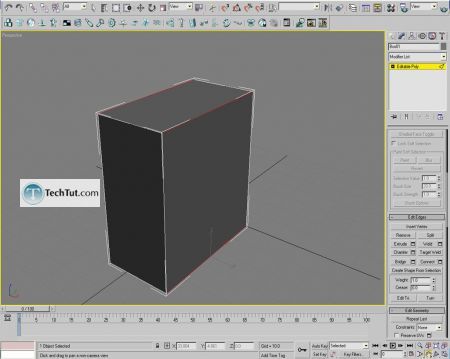
Select that new lines and press chamfer, then extrude it in.
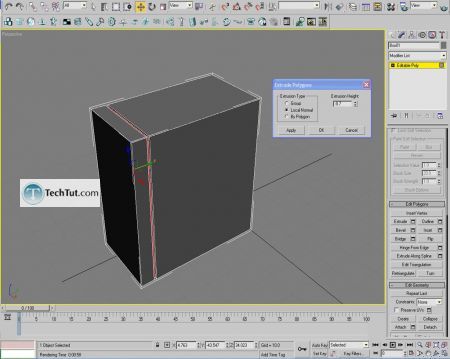
Select front edges and chamfer them .
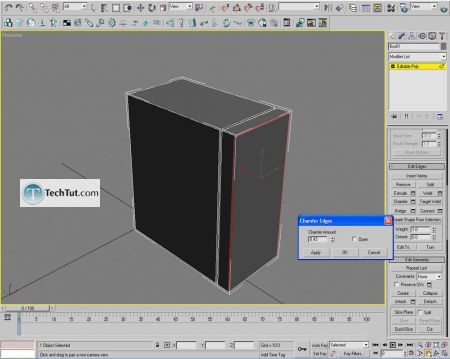
Select front polygon.
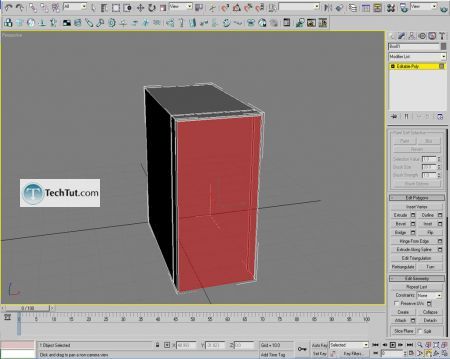
Press inset then chamfer new lines.
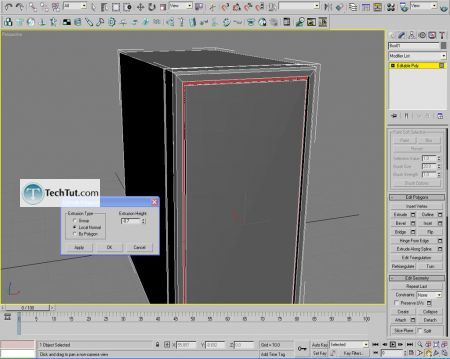
Select those two upper lines.
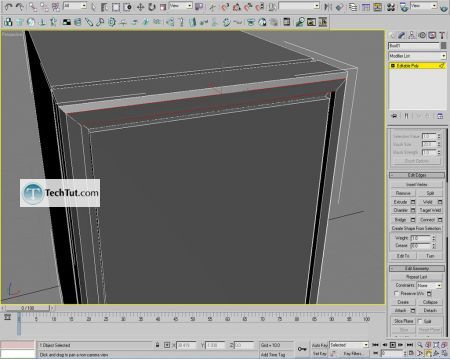
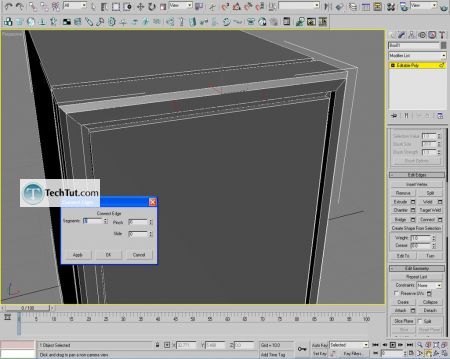
Connect them(two segments).
Select new polygon and move it on Y axis.
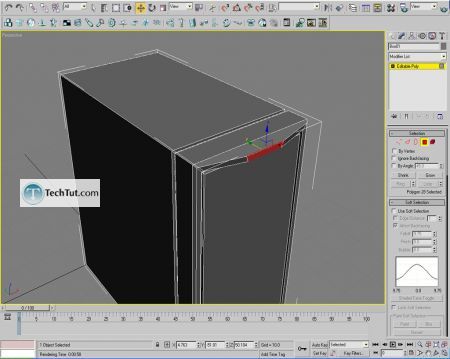
Select new lines and chamfer them.
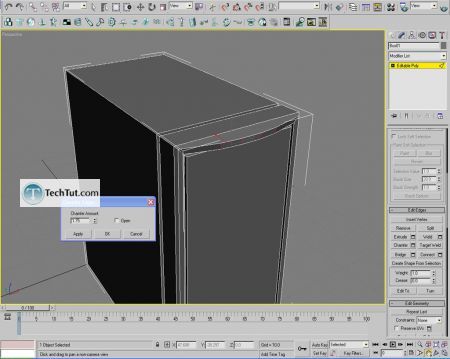
Select left and right line and connect them to get that line like on picture.(this new polygon will be place for cd-roms).
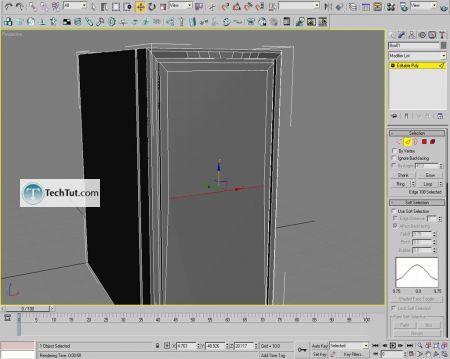
Select that square lines and chamfer them, then extrude them in.
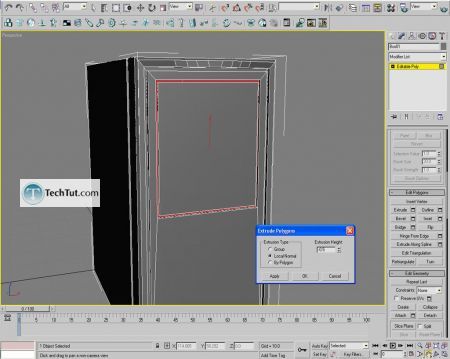
Select left and right square line and connect them (3 segments).
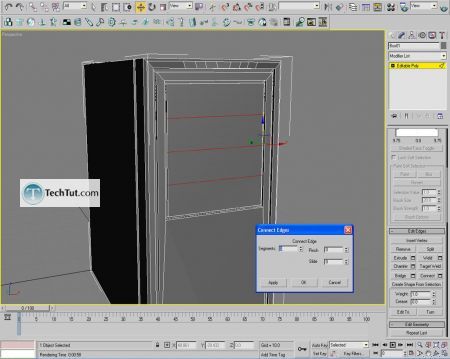
Chamfer new line, then extrude in created polygons.
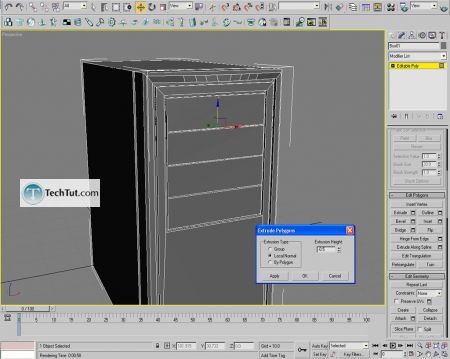
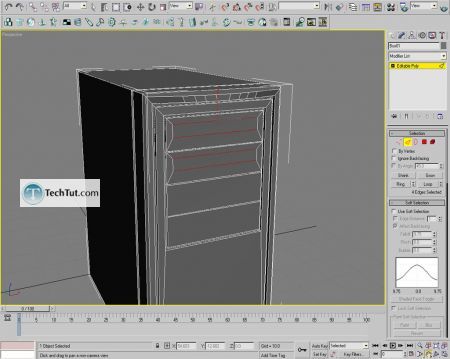
We shall make only first two cd-roms, select that polygons and inset them.(move inseted polygons a little bit up).
GO to: Page 1 : Computer case object in 3D max part 1
GO to: Page 2 : Computer case object in 3D max part 2
GO to: Page 3 : Computer case object in 3D max part 3
TechTut.com This tutorial is copyrighted. Partial duplication or full duplication is prohibited and illegal. Translation or usage of any kind without author�s permission is illegal.

 Join our RSS feed
Use our RSS feed to get the latest published tutorials directly to your news reader.


