Added: 10 September, 2007
Group: 3D studio max
Learn how to create chair using 3D studio max
Author: TechTut.com
page: 2
Creating a chair object in 3D max part 2
Select edges like on picture.
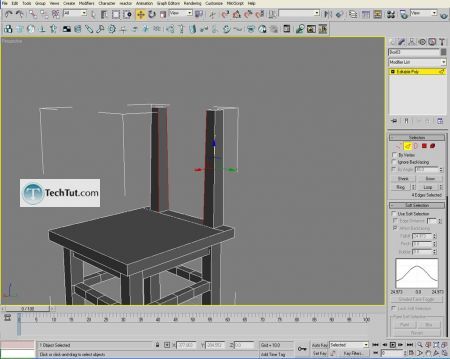
Connect them(two segments) and then chamfer new lines.
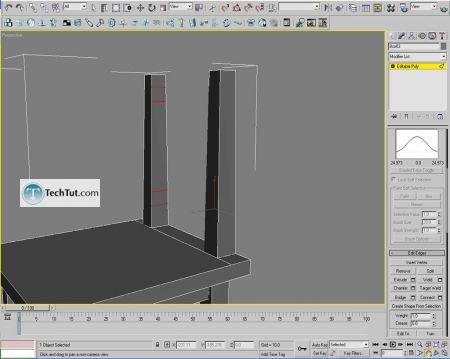
Connect again to get these polygons.
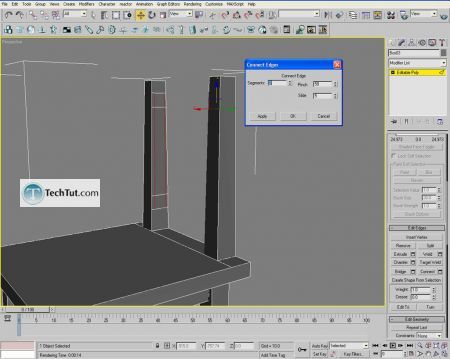
Now select them and click bridge button.(segments 13!).
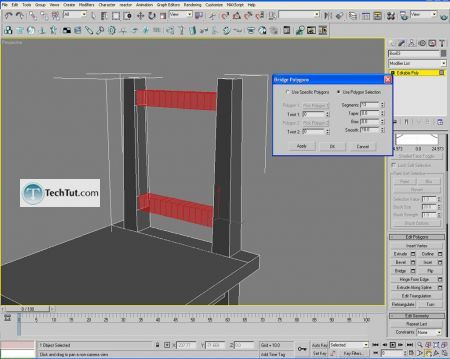
Now select every second polygon (bottom and upper)and inset them.
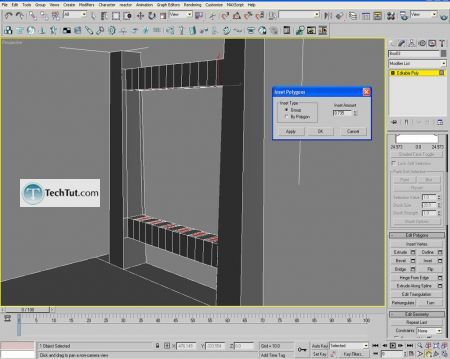
Bridge them.
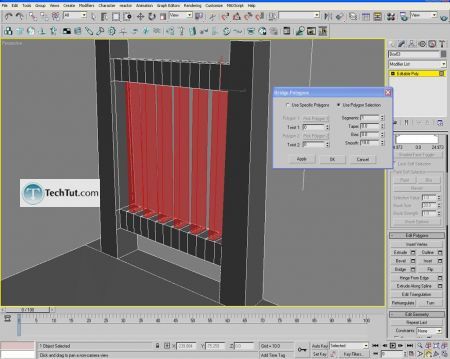
Now weâll use soft selection. Select middle polygon and just move it on X axis.
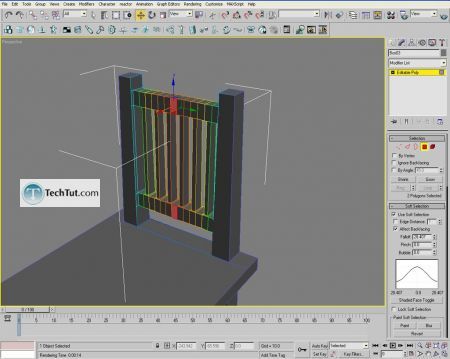
Select seven middle polygons and move them on Z axis.
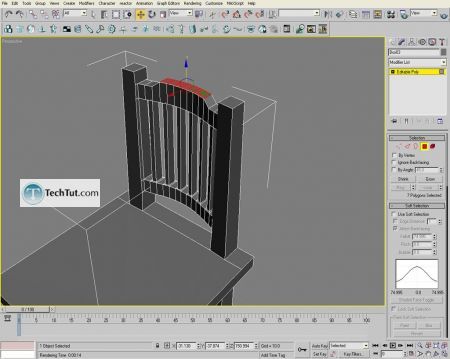
Select like on picture and click bevel button to gain something like this.
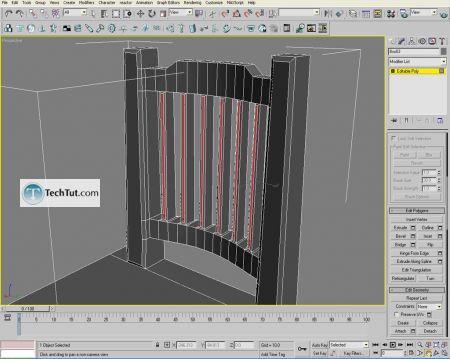
Now select those upper two polygons and using soft selection just move a little on X axis.
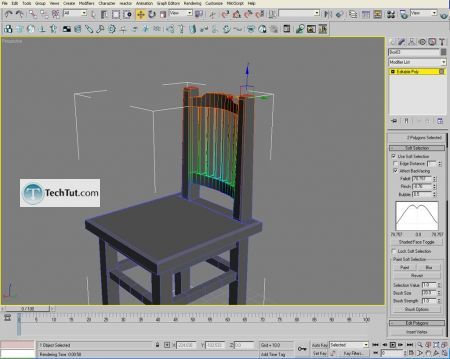
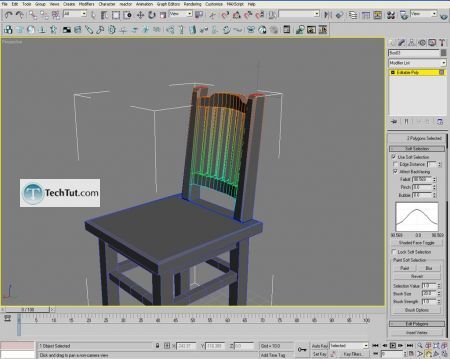
Also select those bottom polygons (on legs) and scale them a little bit.
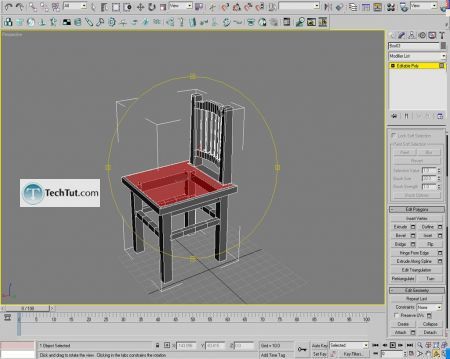
And if you want you can try to select that polygon on the chair where you sit and scale it using soft selection (and trying falloff count).
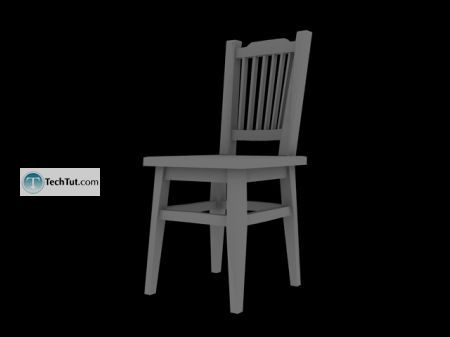
Render
GO to: Page 1 : Creating a chair object in 3D max part 1
GO to: Page 2 : Creating a chair object in 3D max part 2
TechTut.com This tutorial is copyrighted. Partial duplication or full duplication is prohibited and illegal. Translation or usage of any kind without author�s permission is illegal.

 Join our RSS feed
Use our RSS feed to get the latest published tutorials directly to your news reader.


