Added: 30 September, 2007
Group: 3D studio max
Create default scene in 3D max
Author: TechTut.com
page: 1
Simple way for creating default scene
In this tutorial you will learn how to make one default scene in 3DS Max.
Hello!
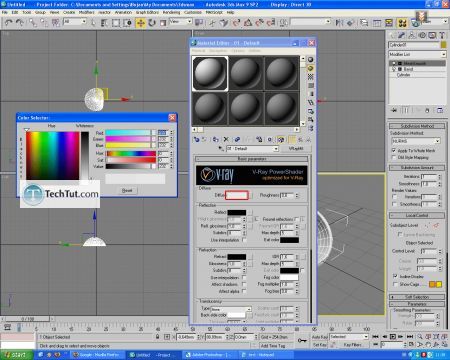
In this tutorial you will learn how to make one default scene in 3DS Max. We will use this scene in our other tutorials.
First, we will make one cylinder.
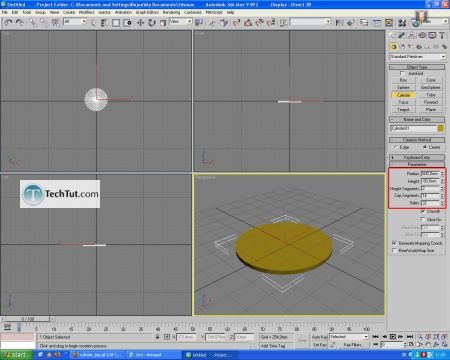
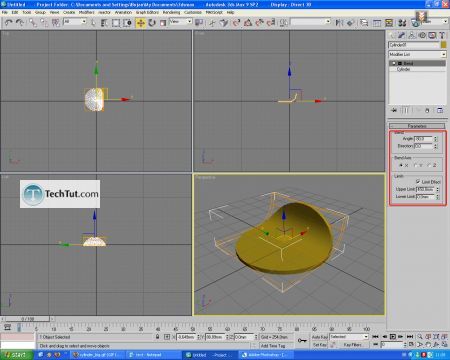
Then, apply Bend modifier to this cylinder and set parameters as shown.
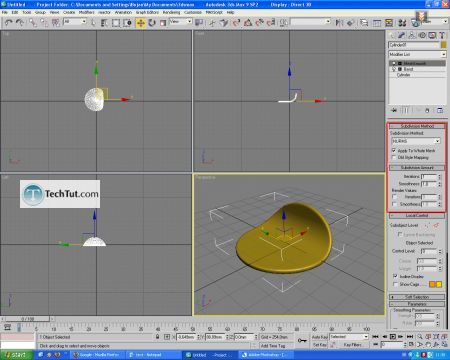
After this, apply MeshSmooth modifier to cylinder.
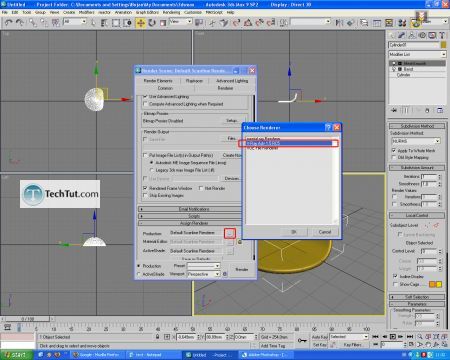
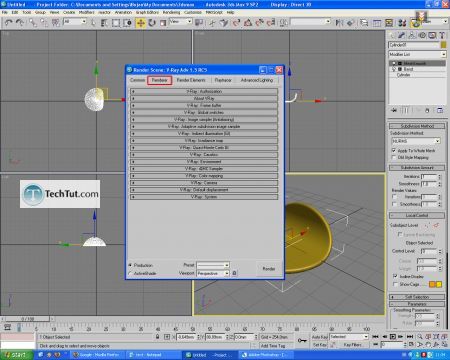
Open Render window, and set V-Ray as a default renderer.
Go to Renderer tab and set parameters like this:
Global switches: turn off default lights
Image sampler to adaptive QMC
Antialising filter "mitchell-netravali"
Indirect illumination ON
Secondary bounces multiplier to 0.8
Irradiance map settings:
- "low" preset
- hsph subdivs = 20
Environment:
- skylight pure white color, 1.0 multiplier
- reflection/refraction pure black, 1.0 multiplier
System:
- render region division 50*50 px
- frame stamp: delete all except rendertime part.
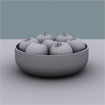
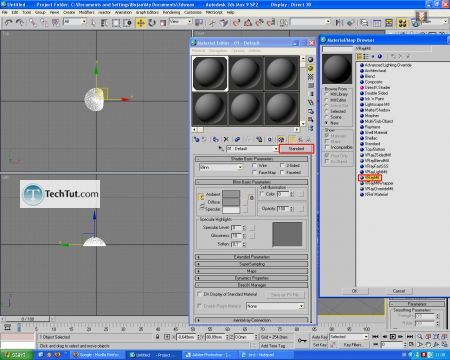
You have only to apply white V-Ray material to our model.

That is all!
Now you have your default scene for rendering models that we will create later.
GO to: Page 1 : Simple way for creating default scene
TechTut.com This tutorial is copyrighted. Partial duplication or full duplication is prohibited and illegal. Translation or usage of any kind without author�s permission is illegal.

 Join our RSS feed
Use our RSS feed to get the latest published tutorials directly to your news reader.


