Added: 3 August, 2007
Group: Photoshop
3D Box Art Tutorial
Author: Jason
page: 1
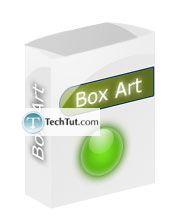
Create 3d box using photoshop
This section contains explanations for making a 3D box in Photoshop. Divided into several rules it’s easy to understand and make.
Though created with Photoshop CS3, this tutorial will most likely work with older versions of Photoshop (to some extent).
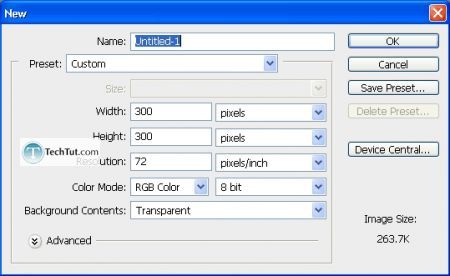
Step 1. New Document and get your front and sides created.
Light gray (foreground) and white (background) gradient from top-left to bottom-right.
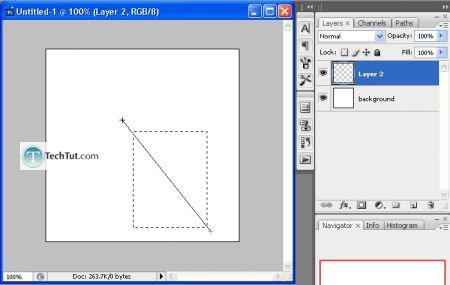
Left side and top:

Step 2. Decorate it.
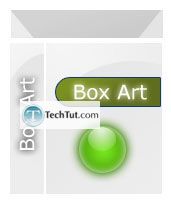
Step 3. Now clump your different layers into folders.
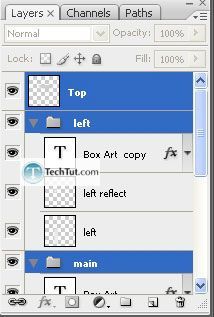
Step 4. Now, finally, we are at the point where we can now do some transformations to make this 3d box come to life!
So first, move all the folders/layers and get them to touch each other.
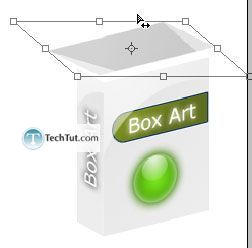
Select the main front view folder/layer and then merge all the pertaining layers onto one layer. To do this, select the layers and then press “Ctrl E”. Select that one merged layer and then go to Edit > Transform > Perspective.
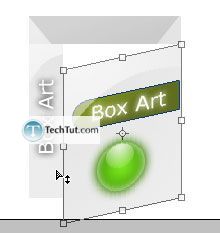
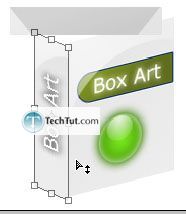
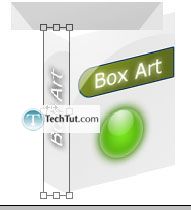
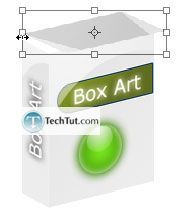
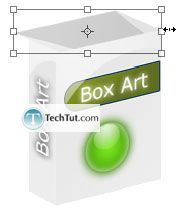
Then press “Ctrl + T” for free transform. Make the width a bit smaller ‘cause right now, it don’t look too realistic.
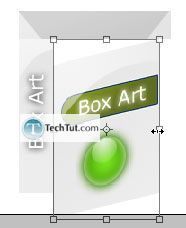
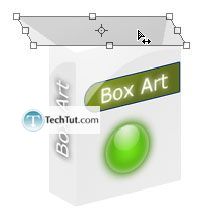
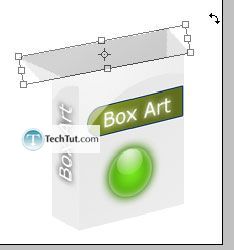
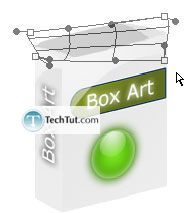
Go through a similar process for the other views.
Final:
GO to: Page 1 : Create 3d box using photoshop
TechTut.com This tutorial is copyrighted. Partial duplication or full duplication is prohibited and illegal. Translation or usage of any kind without author�s permission is illegal.

 Join our RSS feed
Use our RSS feed to get the latest published tutorials directly to your news reader.


