Added: 11 August, 2007
Group: Photoshop
Simple logo creation in Photoshop
Author: Note
page: 1
Creating a Logo: Step by Step Tutorial
This tutorial here was used with Photoshop CS3 but the steps outlined here should work well with other older versions of Photoshop. Enjoy.
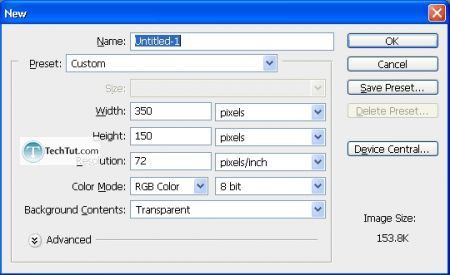
Step 1. The logo that is going to be created today is for something like an upload file delivery service such as the popular MegaUpload or Rapidshare among many others. Logos are usually around 300px by 100px in size but in order to work with the logo better, I like to always make the document bigger than my final result because I can always crop it later.
So create a new document.
Step 2. We are going to be starting with the envelope and make it appear to be 3D by using a special transform tool (which will all be explained in due time). Use the marquee tool to create a rectangular box (in the shape of an envelope).
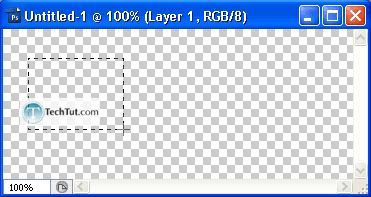
Rename your layer to something like Envelope
And fill that box with a gradient:

These colors
Following gradient settings:

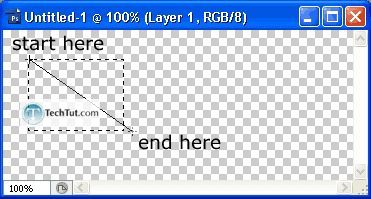
start here end here
Step 3. Now lets add the envelope lines. Follow these next steps very closely. If you havent done the Pen Tool Tutorial, I really suggest you do that now.
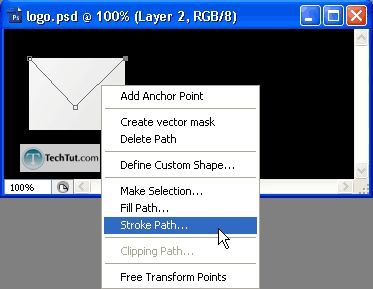
First, add a black background. Then, get on a new layer and dish out your Pen Tool. Now, just follow the screenshots. My screenshots are so good no explanations are needed ;)
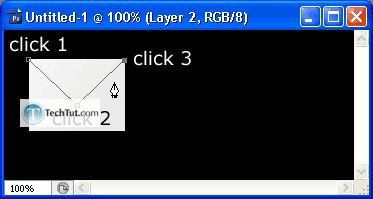

With a black foreground have the following brush settings. This is important as the pen tool stroke function will use the current brush settings (and foreground color). 4px, hardness: 100%.

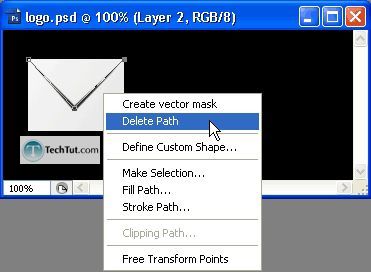
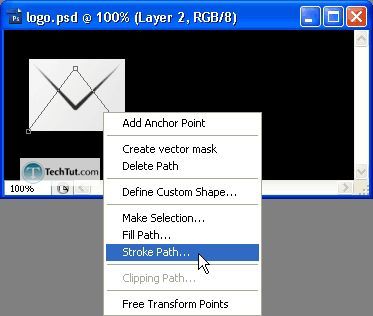
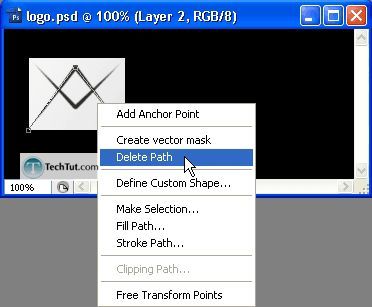
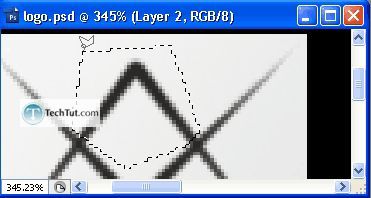
Then press Delete
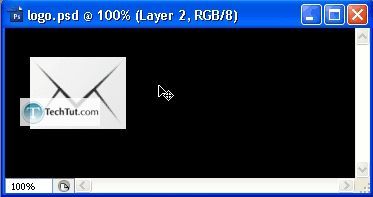
What you should have by now
Step 4. Putting the envelope in perspective.
Select both layers (the black lines of the envelope and the envelope itself) by selecting one and then holding down Shift and then clicking the other. Then, go to Edit > Transform > Perspective. Drag the top-right or bottom-left corner towards the right-center.
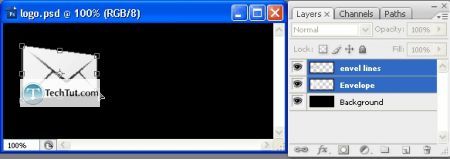
By the way, I changed my mind check the black background to white :)
Step 5. Adding in the Swish lines. Create a new layer above all the others and rename it appropriately. Refer to the pen tool if youre not an expert using it and create lines like those below:
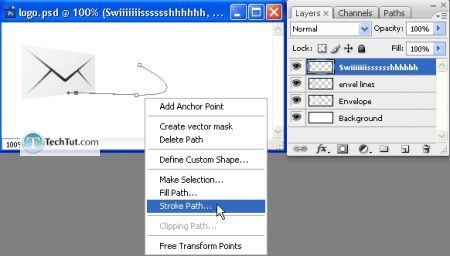
Now press Stroke path but make sure you have the brush settings below:

Now delete the path.
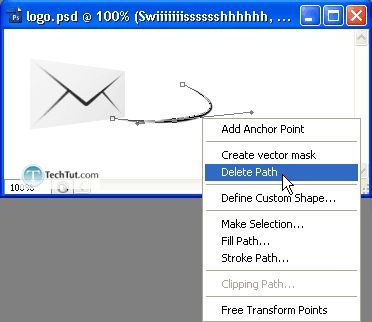
Duplicate that layer and then transform it like such:
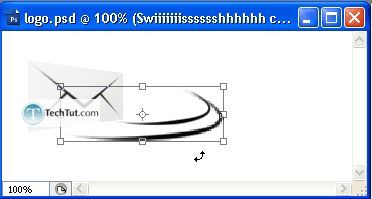
Some more transforming and rotating
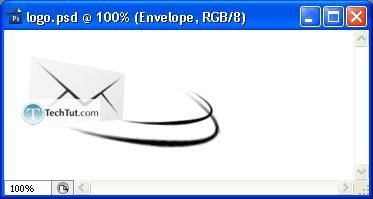
Step 6. Adding the drop shadow and text.
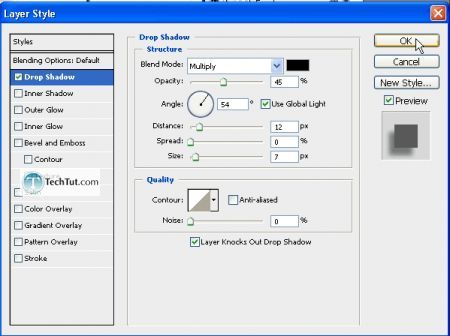
Apply a drop shadow effect to the background envelope.
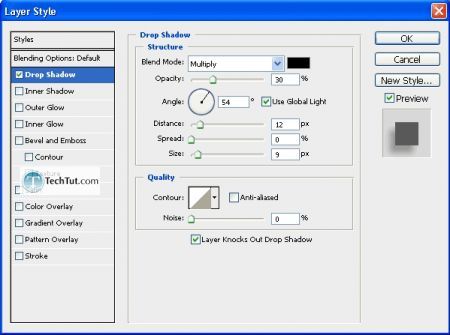
Now the text.
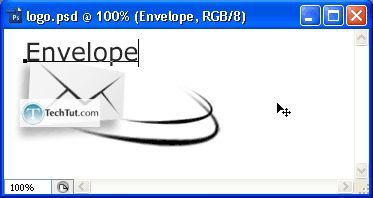
Now rasterize the layer.
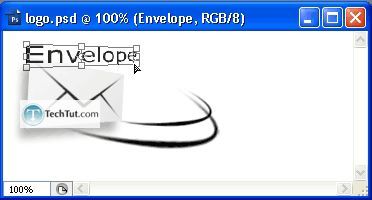
Go to Edit > Transform > Perspective.
Rotate.
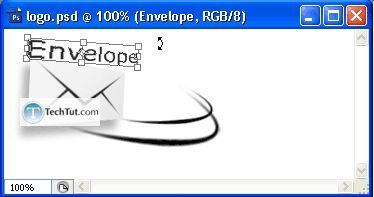
Drop shadow
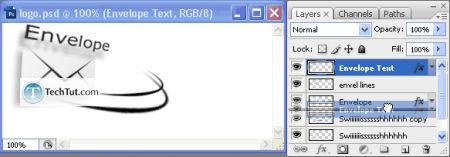
Move the layer now below the envelope (both of them) layers so that the drop shadow remains behind the envelope.
Well Thats the gist of my logo design If you look at my final you will notice that it does lack balance. When making your own logos, remember to maintain the balance.
Final:

Final with balance add-on:

Finished.
GO to: Page 1 : Creating a Logo: Step by Step Tutorial
TechTut.com This tutorial is copyrighted. Partial duplication or full duplication is prohibited and illegal. Translation or usage of any kind without author�s permission is illegal.

 Join our RSS feed
Use our RSS feed to get the latest published tutorials directly to your news reader.


