Added: 25 September, 2007
Group: Photoshop
Creating a cigarette using Adobe Photoshop
Author: Photoshoper
page: 1
Create Cigarrete in Adobe Photoshop part 1
This tutorial will guide you how to create a realistic looking cigarette in Adobe Photoshop.
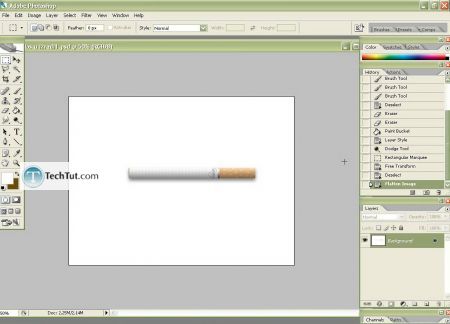
Open a new Document
1.Use the Rectangular Marquee Tool(M) and
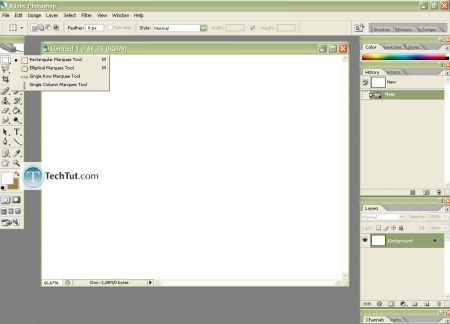
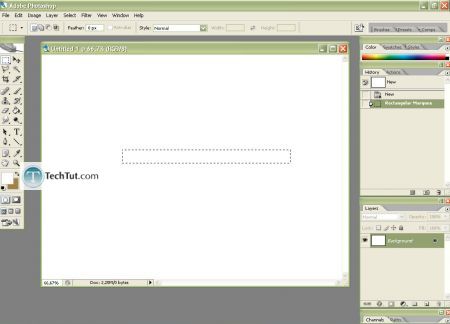
2.Make the basic shape selection of the cigarette, right click on the selection and choose Layer via Copy and I've name it "base"
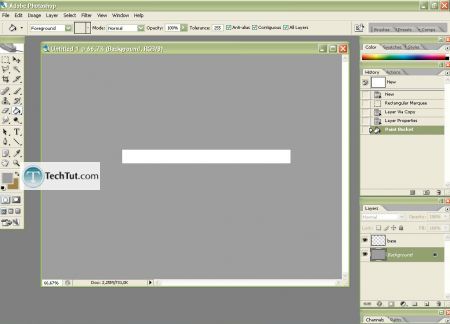
3.Now to see the "base"- color the background with gray or something like this- double click on the foreground color window, choose desired color and use Paint Bucket Tool(G)
to fill the Background
4.Duplicate the base layer(right click on it> Duplicate Layer) and name it "filter".
Use the Magic Wand Tool(W) and click on the white "base" to select it
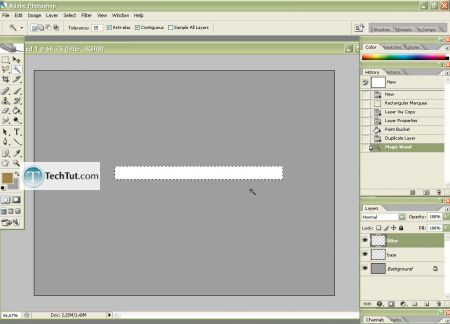
5.Choose the color for the filter and fill the selection with Paint Bucket Tool(G)
Hit CTRL+D to deselect it,
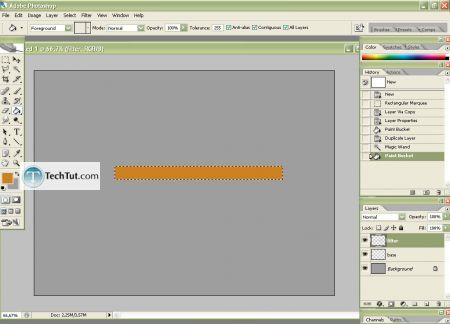
5,1 and use the Rectangular Marquee Tool to select the part of this layer that you don't need,
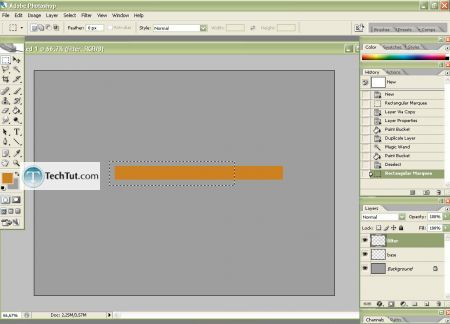
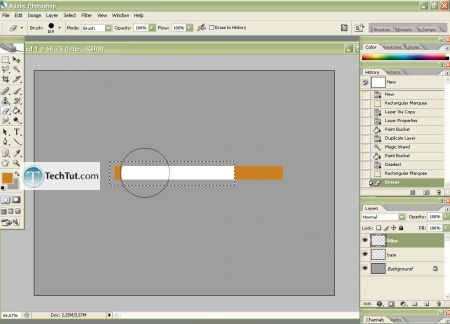
5,2 and erase it with Eraser Tool(E), hit again CTRL+D to deselect it( if you want to change the color again, as you will see that I did, just use again the Magic Wand Tool, and paint the selection with another color)
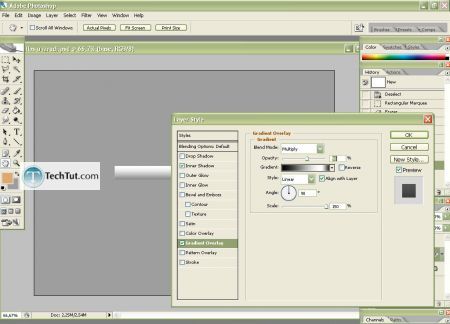
6.Right click on the "base" layer> Blending Options and set the parameters as following
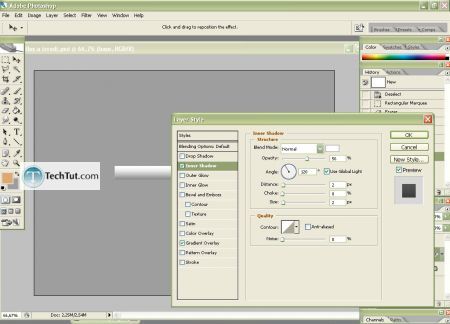
and set also these parameters for the "filter" layer
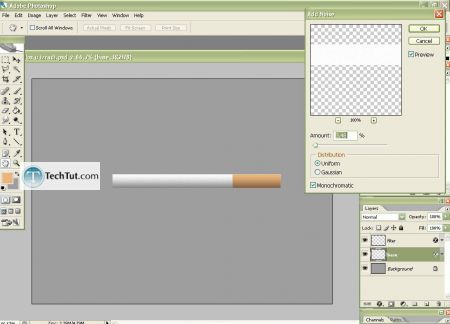
7.Filter> Noise> Add Noise and set the parameters something like that, and repeat this with the "filter" layer but with lower Amount
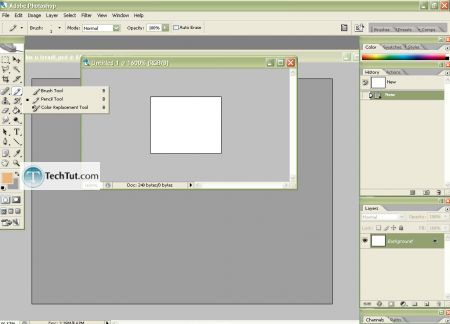
8. now its time to give this cigarette the realistic look by applying the lines, we must make a Pattern: Open a new document with Size 10x8 pixels, zoom it to the max and pick the Pencil Tool
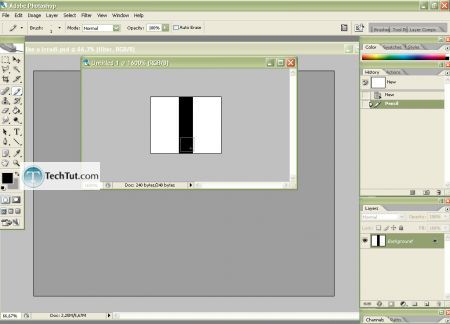
8,1 draw a black line in the middle,
8,2go to Edit> Define Pattern> I've named it "lines"
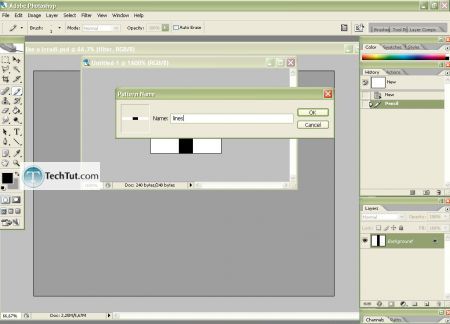
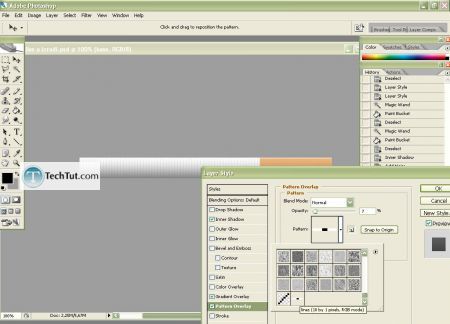
8,3 go to Blending Options> Pattern Overlay, find this new Pattern and set the parameters like this
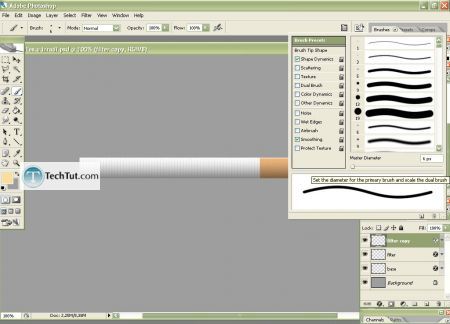
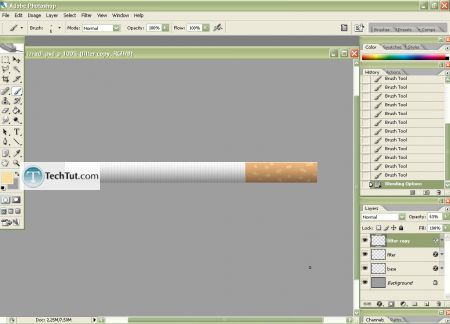
9.Duplicate the "filter" layer and take Brush Tool, set the foreground color to lighter, choose small brush and brush some spots like on a real cigarette (if the color is to bright-you can always lower the Opacity of this layer)
GO to: Page 1 : Create Cigarrete in Adobe Photoshop part 1
GO to: Page 2 : Create Cigarrete in Adobe Photoshop part 2
TechTut.com This tutorial is copyrighted. Partial duplication or full duplication is prohibited and illegal. Translation or usage of any kind without author�s permission is illegal.

 Join our RSS feed
Use our RSS feed to get the latest published tutorials directly to your news reader.


