Added: 22 August, 2007
Group: 3D studio max
Learn how to create pool in 3D studio
Author: TechTut.com
page: 1
Modeling and Lighting
This tutorial shows you step-by-step how to create a nice pool in 3D studio max, covering each aspect of its process. Several expects of making a model of poll in 3D studio max, First, we will create pool, then light, materials and renderer.
Hello everybody!
In this tutorial we will learn how to create realistic pool with water using Autodesk 3D Studio Max. For this tutorial you don't need much experience with this program - just follow these steps.
First, we create pool, then put some light in scene, work with materials and renderer.
1. Modeling
Start you 3DS Max program. If it is already open, go to File>Reset>No>Yes. Of course, you must save your previos work by going to File>Save.
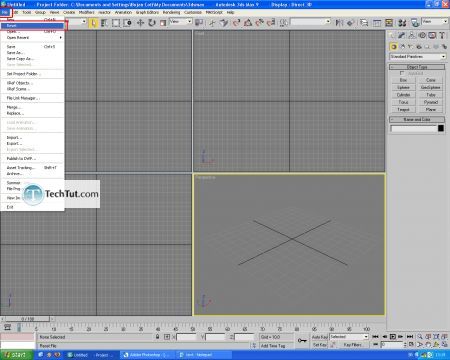
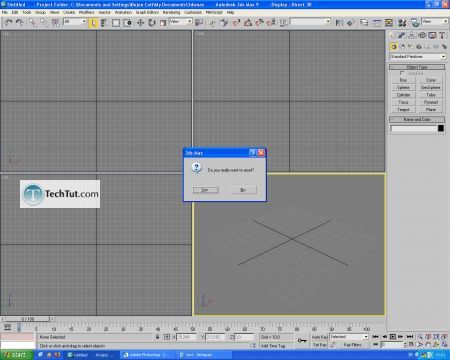
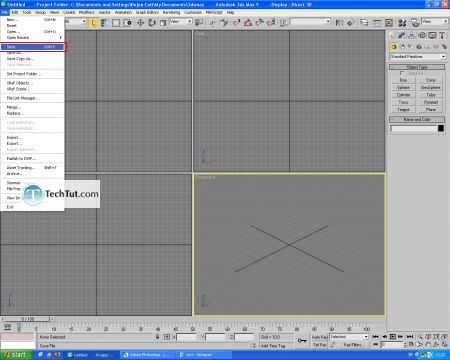
Go to Create tab, then go to Geometry and draw one plane.
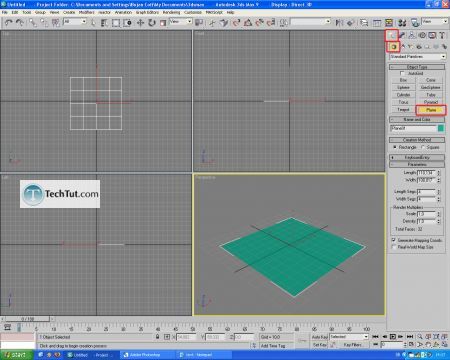
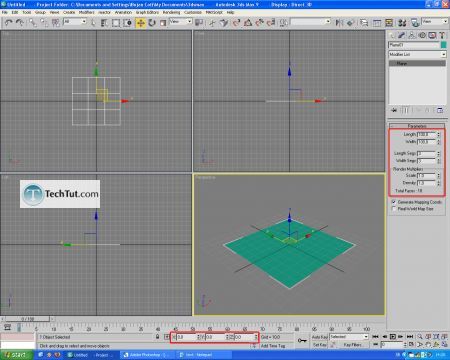
Give this plane Length to 100 and Width to 100, and Length Segs to 3 and Width Segs to 3. Center it by typing 0, 0 and 0 in coordinates boxes.
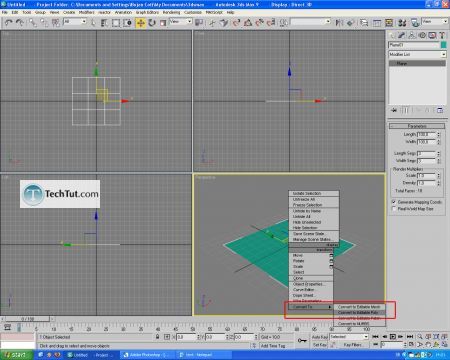
Convert this plane to Editable Poly. Hit F4 to see edges of the object.
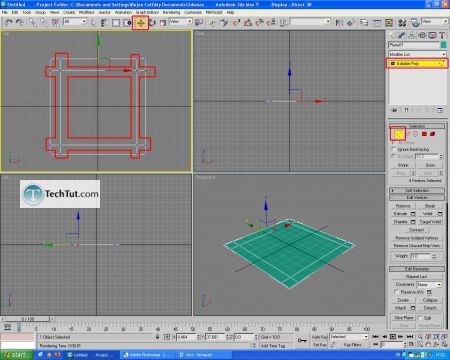
Go to Top viewport by hitting T and go to Vertex mod. Move vertexes selected on picture.
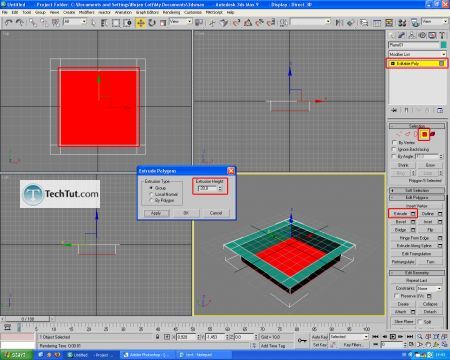
Go to Polygon mod and select polygon in center. By option Extrude, extrude it for -20 and hit OK.
2. Lighting
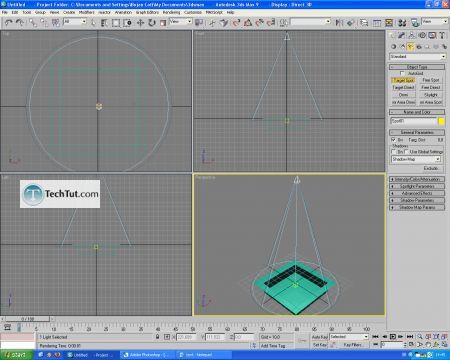
Go to Create tab, then go to Lights and choose Target Spot. Put it in scene to light the pool.
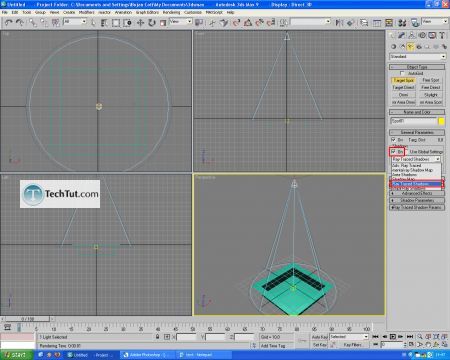
In Modify tab, activate Shadows and set Ray Traced Shadows.
GO to: Page 1 : Modeling and Lighting
GO to: Page 2 : Pool materials
TechTut.com This tutorial is copyrighted. Partial duplication or full duplication is prohibited and illegal. Translation or usage of any kind without author�s permission is illegal.

 Join our RSS feed
Use our RSS feed to get the latest published tutorials directly to your news reader.


