Added: 22 August, 2007
Group: 3D studio max
Learn how to create pool in 3D studio
Author: TechTut.com
page: 2
Pool materials
3. Materials
Open Material editor and select first slot. Go to little square and choose Bitmap.
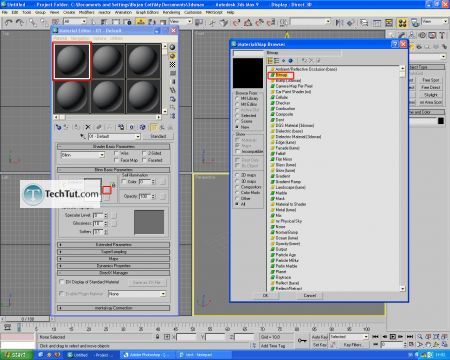
Choose some texture and apply material to pool. Tile it for 10 times.
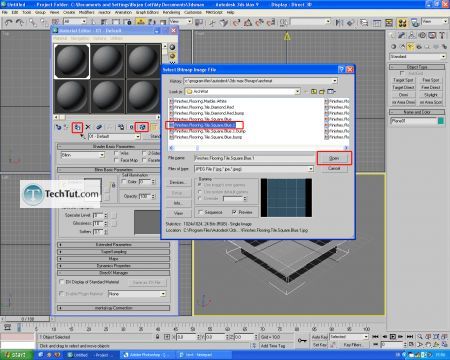
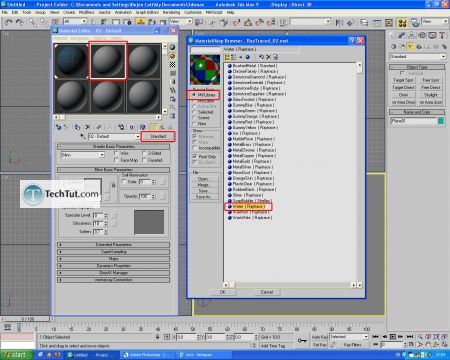
Now it is time to make material for water. Select another slot and open Standard button. Open raytraced_2.mtl library and select Water material.
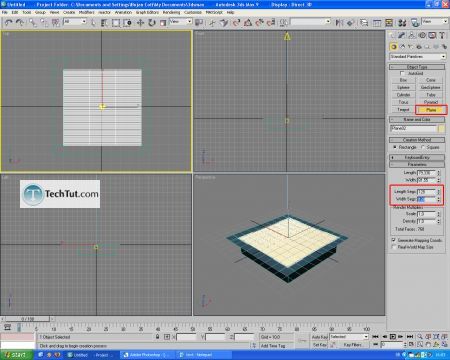
Close Material editor. Make one new plane that will act water and place it in pool. Set Length Segs to 128 and Width Segs to 128.
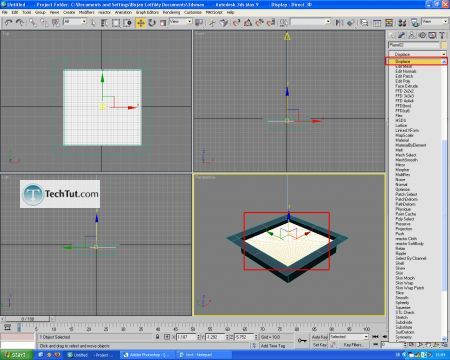
Move this plane for a little and assign to him Displace modifier.
Set Strength to 2 and open Material Editor.
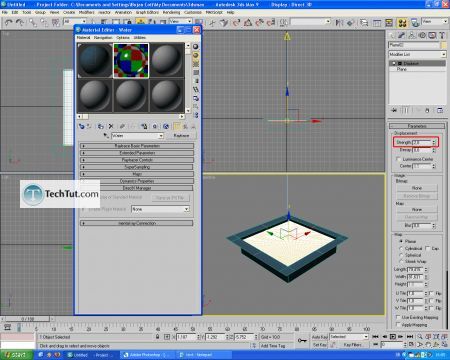
Open Raytrace Basic Parameters by hitting little plus. Drag Mix material for bump to Map in Displace parameters. Click Copy and say OK.
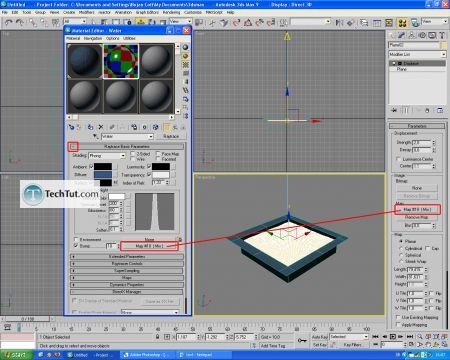
Assign Water material to plane and close Material editor.
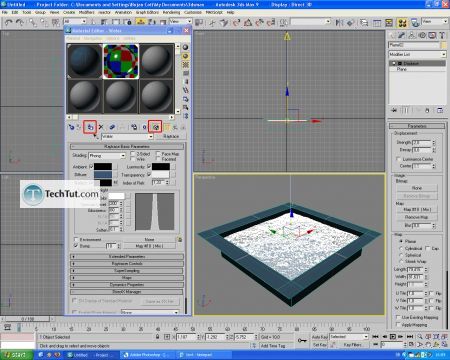
3. Rendering
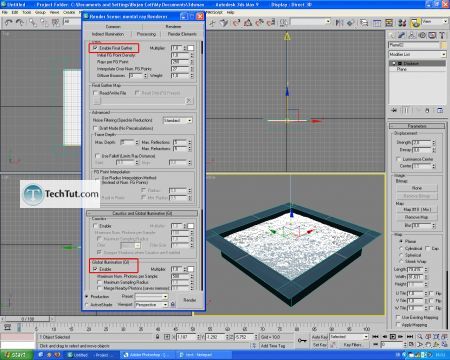
Go to Rendering>Render. Go to Indirect Illumination and activate Final Gather and Global Illumination option.
Go to Environment and set Background color to white.
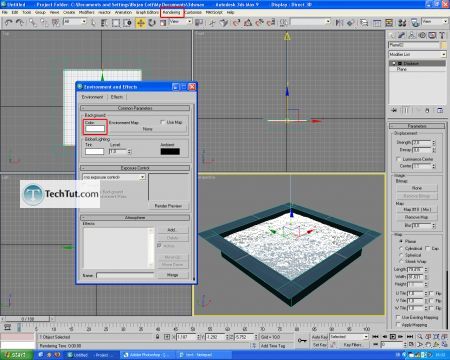
Now hit F9 to render and see result.
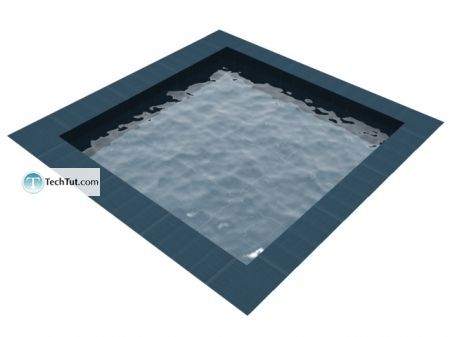
In this tutorial you learned how to make pool with realistic water. There is many more way to create water - but this is the fastest.
Thats all.
GO to: Page 1 : Modeling and Lighting
GO to: Page 2 : Pool materials
TechTut.com This tutorial is copyrighted. Partial duplication or full duplication is prohibited and illegal. Translation or usage of any kind without author�s permission is illegal.

 Join our RSS feed
Use our RSS feed to get the latest published tutorials directly to your news reader.


