Added: 23 August, 2007
Group: 3D studio max
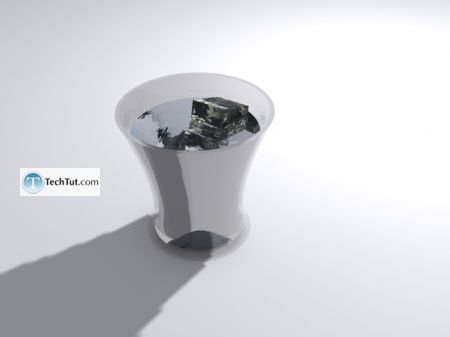
Drinking glass with liquid and ice cubes
Author: TechTut.com
page: 1
Model 3D glass object, liquid and ice cubes part1
A nice smooth drink with some ice after a tough day? Check that out made in 3D studio max. In this tutorial we will learn how to create realistic drinking glass with Autodesk 3D Studio Max and that is not all. We will learn how to fill it with water, ice.
Hello everybody!
In this tutorial we will learn how to create realistic drinking glass with Autodesk 3D Studio Max. For this tutorial you don't need much experience with this program - just follow these steps.
First, we create drinking glass model, then we put some light in our scene and we work with materials and renderer. Note that you need to have installed material libraries.
1. Modeling
Start you 3DS Max program. If it is already open, go to File>Reset>No>Yes. Of course, you must save your previous work by going to File>Save.
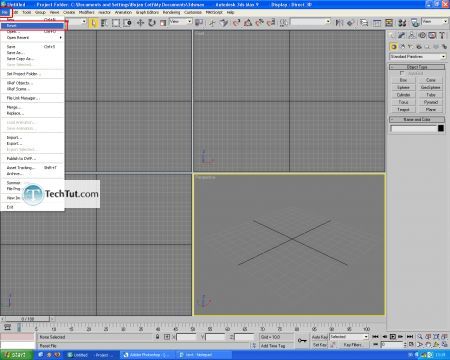
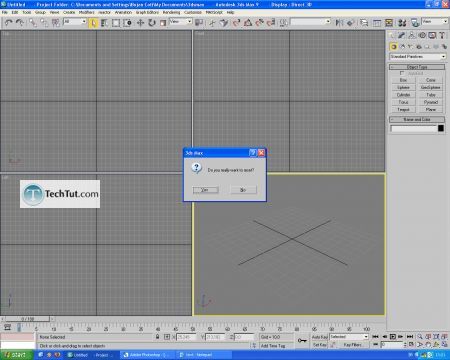
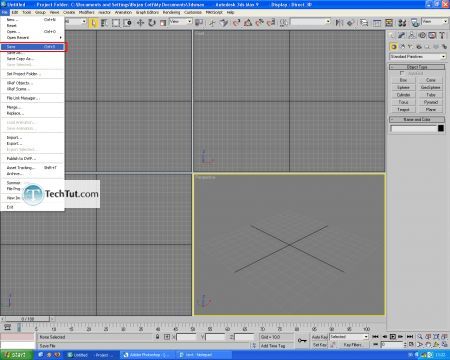
OK, go to Create panel, then go to Shapes and choose Line.
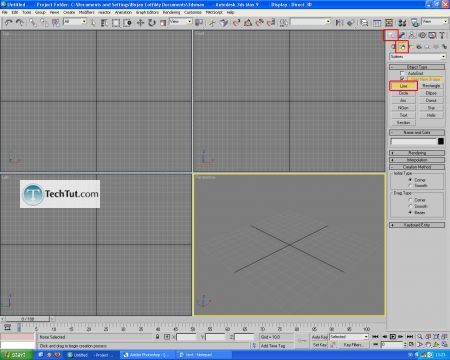
Go to Front viewport by hitting F key and in Line Creation Method choose Smooth for Initial Type and Smooth for Drag Type.
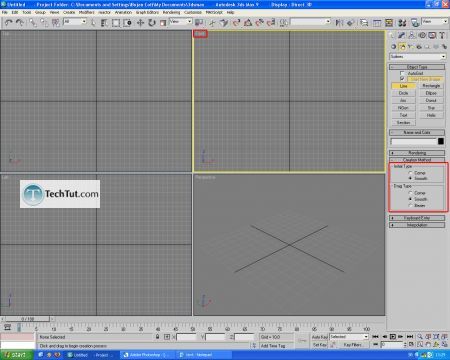
It is time to draw line for our drinking glass. Maximize you Front viewport so you can draw more precisely. Note that this line will be assigned with Lathe modifier later. Draw line, click to define vertexes and hit Esc to finish.
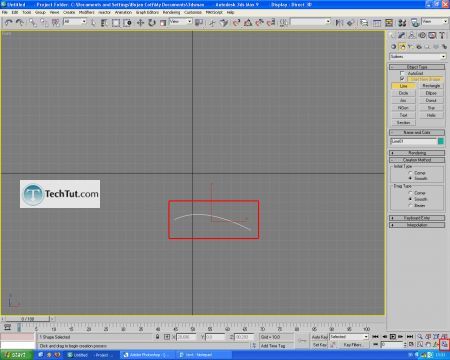
Now it is time to draw second line for our drinking glass. Just draw line in way that you think is the best.
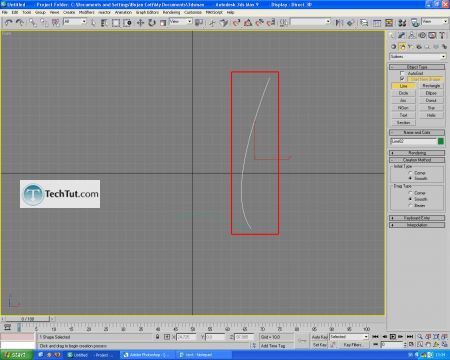
After this, we need to clone these two lines to get wall for model. Just click on line, select clone and move line along the Y axis.
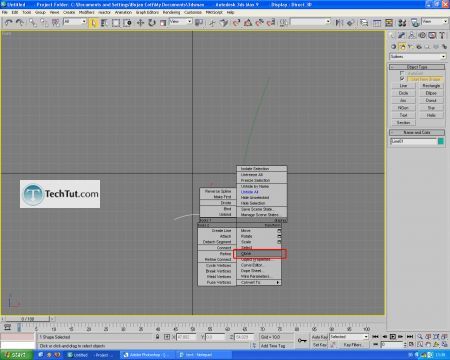
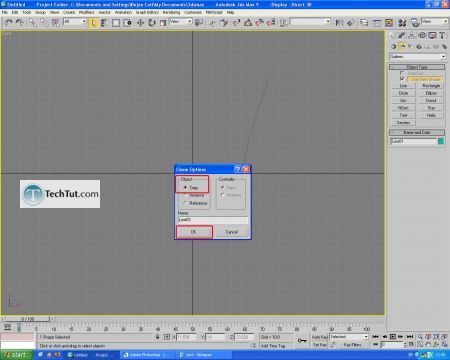
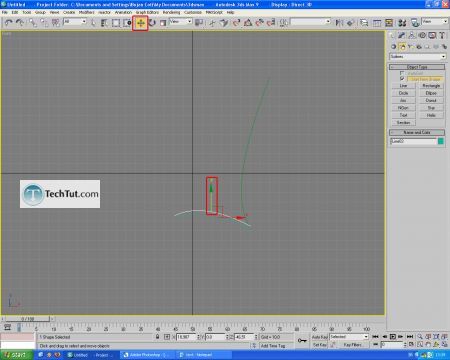
Do same with second line.
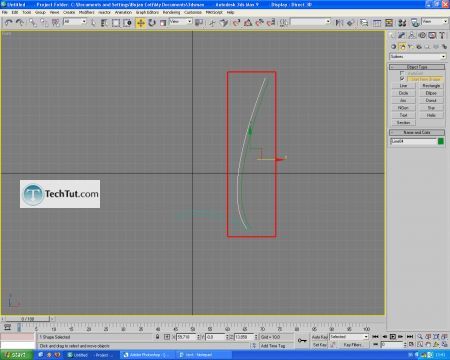
OK, select again first line. Go to Modify panel and choose Attach.
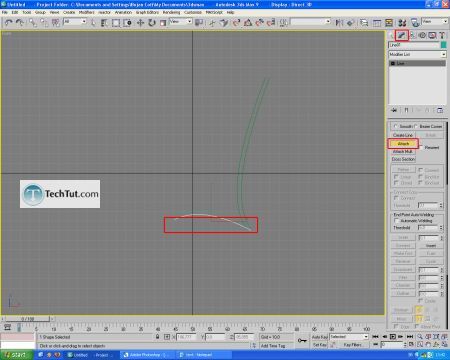
With Attach option selected, select another lines in scene.
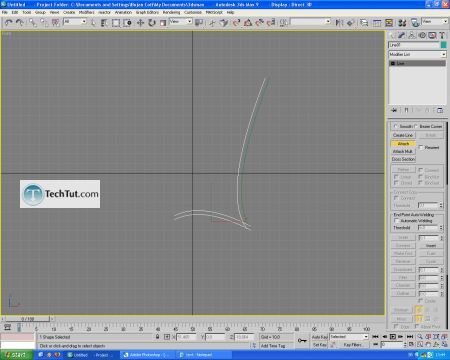
Now, all of the lines is attached. Go to Vertex mode and move vertexes displayed on picture. Zoom view port with mouse wheel.
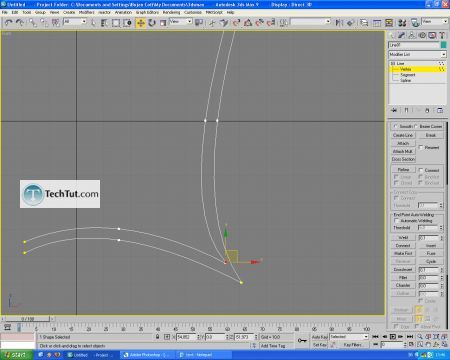
We have to draw one more line to the top of our spline. Draw it and attach it.
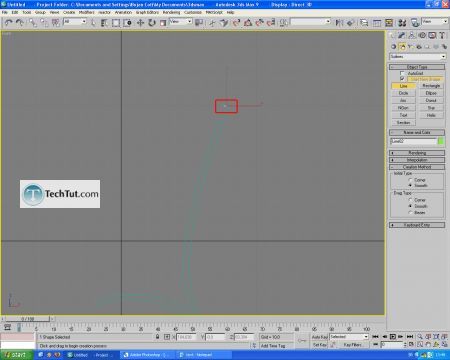
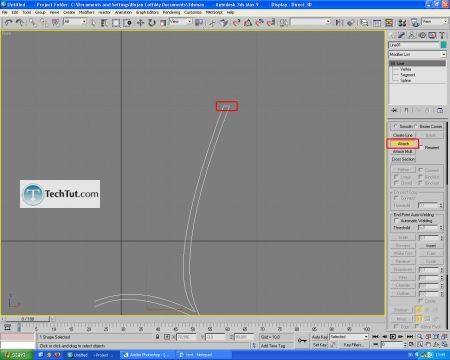
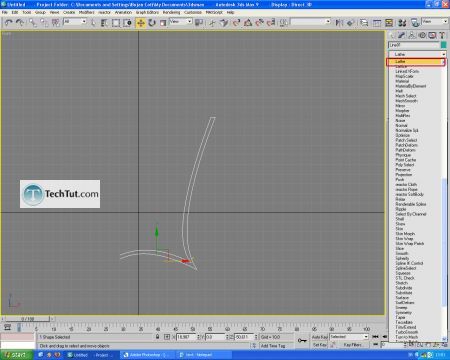
OK, line is finished. Assign Lathe modifier to it.
GO to: Page 1 : Model 3D glass object, liquid and ice cubes part1
GO to: Page 2 : Model 3D glass object, liquid and ice cubes part2
GO to: Page 3 : Drinking glass lighting materials and render
TechTut.com This tutorial is copyrighted. Partial duplication or full duplication is prohibited and illegal. Translation or usage of any kind without author�s permission is illegal.

 Join our RSS feed
Use our RSS feed to get the latest published tutorials directly to your news reader.


