Added: 9 September, 2007
Group: 3D studio max
Easy way of creating rubber tire
Author: TechTut.com
page: 2
Create rubber car tire part 2
Do not deselect getted polygons, just bevel them (Edit Polygons menu)
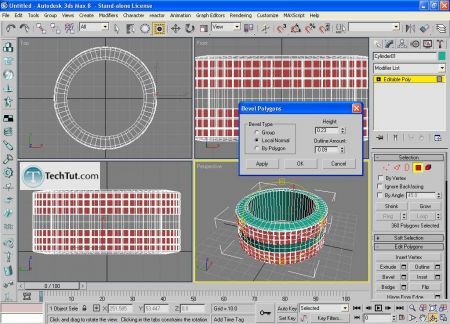
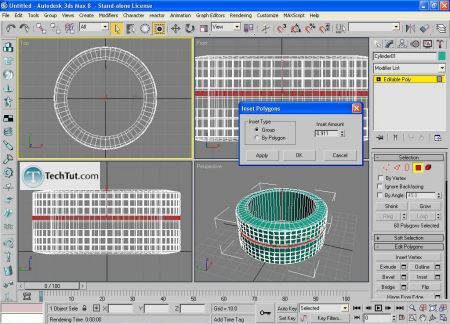
Select this polygons and inset it (by group). Now you have to extrude selected polygons. Do same on symmetry side of tire.
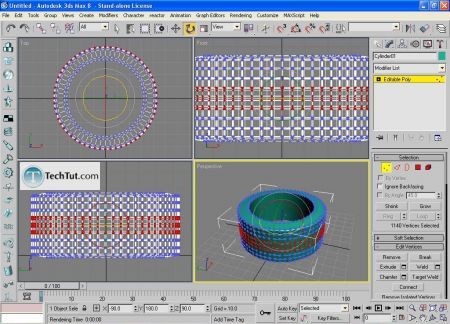
To make more realistic tire select vertices like on next picture and rotate them.
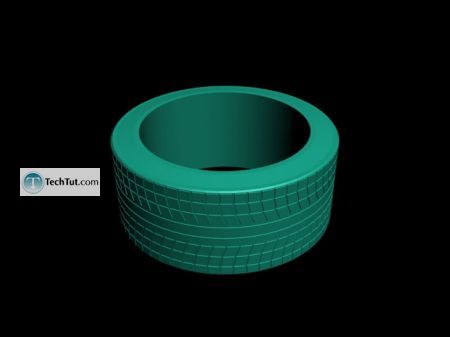
Press F10 to render tire
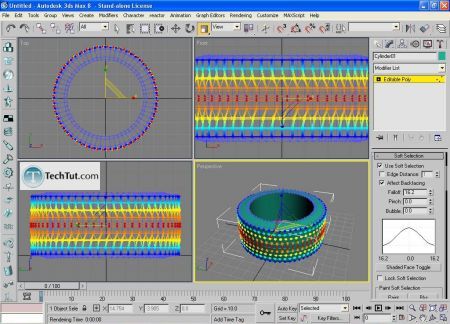
Tire is not in perfect shape. Select points like on picture and check âuse soft selectionâ in Soft Selection menu. Scale to x and y coordinates, but be carefully and do not scale much.
Select internal polygons of tire, inset them a little and then extrude
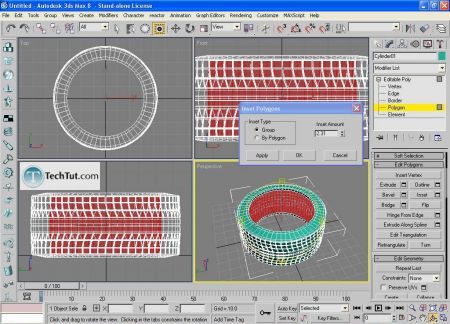
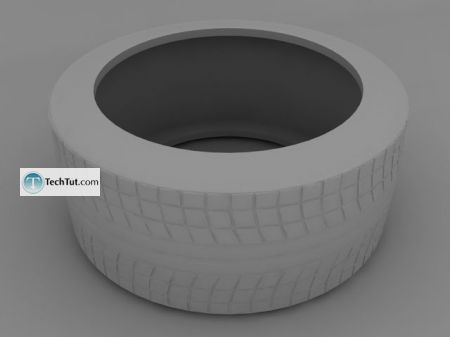
Now put material on tire. Use these settings:
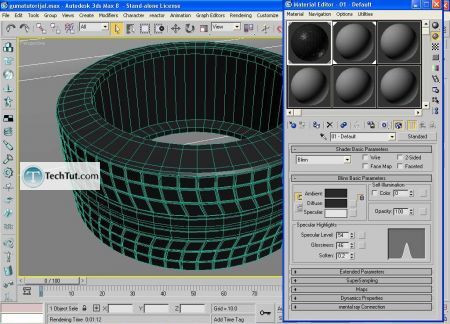
For bump map use these settings:
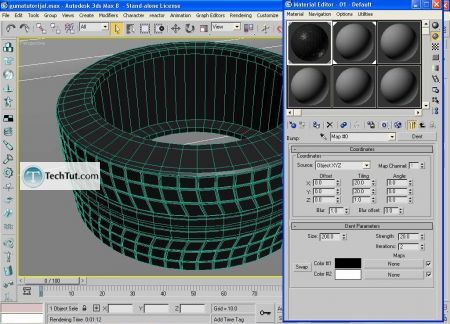
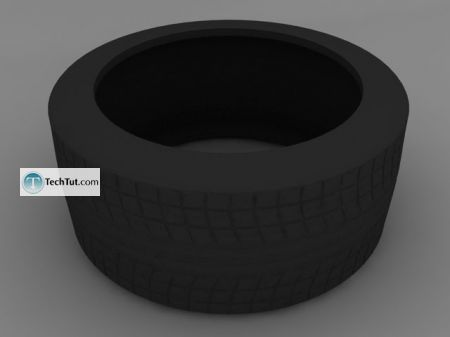
Render image
GO to: Page 1 : Create rubber car tire part 1
GO to: Page 2 : Create rubber car tire part 2
TechTut.com This tutorial is copyrighted. Partial duplication or full duplication is prohibited and illegal. Translation or usage of any kind without author�s permission is illegal.

 Join our RSS feed
Use our RSS feed to get the latest published tutorials directly to your news reader.


