Added: 14 September, 2007
Group: 3D studio max
Create a realistic looking satellite dish
Author: TechTut.com
page: 2
Model satelite dish part 2
Use cut tool to make new vertexes in places where screw comes. Select these new vertexes and chamfer them. Now select newly created polygons and use bridge tool to make holes.
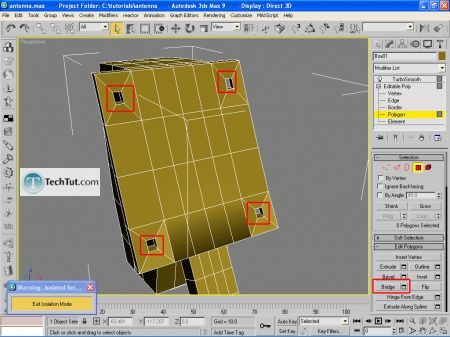
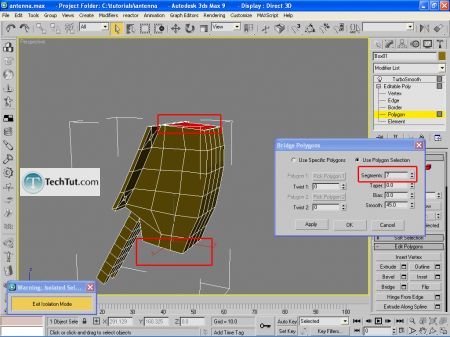
Select polygons on top and bottom. Use bridge tool and set segments to 7.
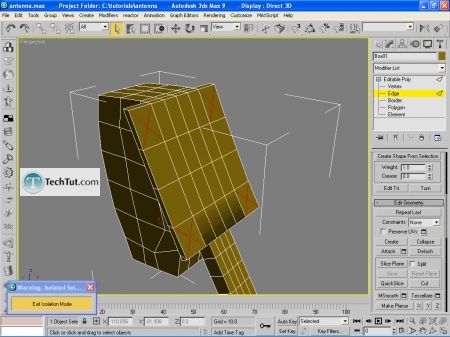
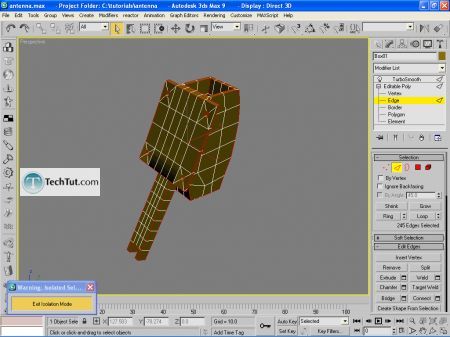
Select all edges displayed on picture. Use chamfer tool and set amount to 0.3 Put Turbosmooth modifier.
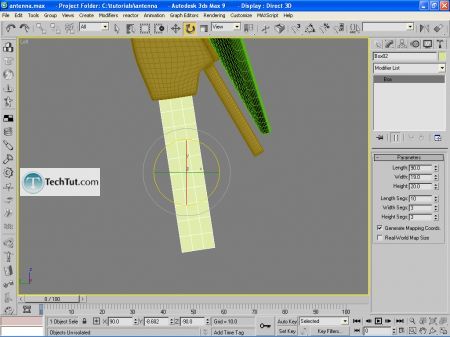
Create new box in Left viewport set parameters displayed on picture.
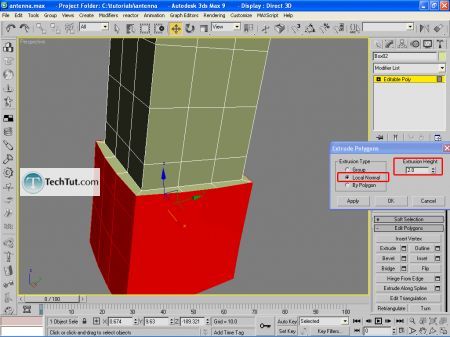
Convert it to Editable poly and select 3 bottom rows of polys. Use extrude tool and set extrusion type to local normal and extrusion height to 2.
Select edges displayed on picture and chamfer them. Set amount to 0.3. Put Turbosmooth modifier.
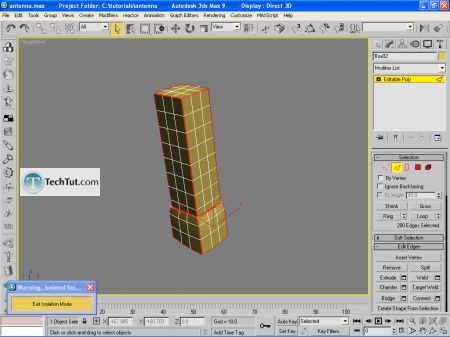
Create another box in Left viewport and set parameters displayed on picture.
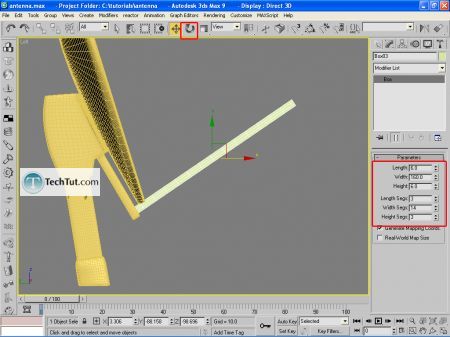
Convert it to Editable poly and move vertexes so you get shape like on picture.
Select these edges:
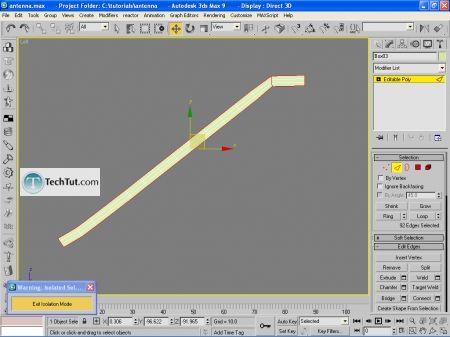
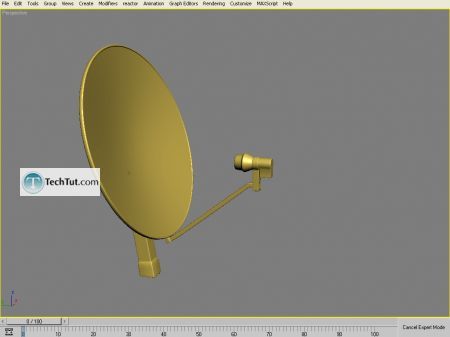
Use chamfer and set chamfer amount to 0.3.Put Turbosmooth modifier. After these steps your model should look like this:
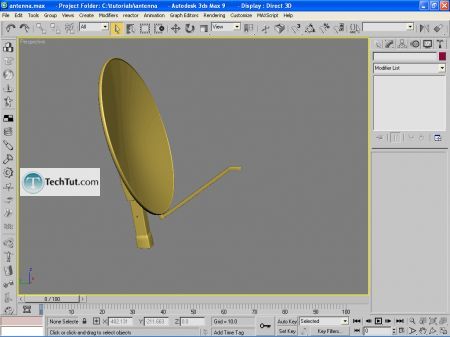
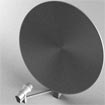
Now it's time to build receiver. Create cylinder and covert it to Editable poly. Now simply select edges and use uniform scale to get shape displayed on picture. Select polys on bottom right side and extrude them twice. Select outer edges and chafer them for 0.3. Put Turbosmooth modifier.
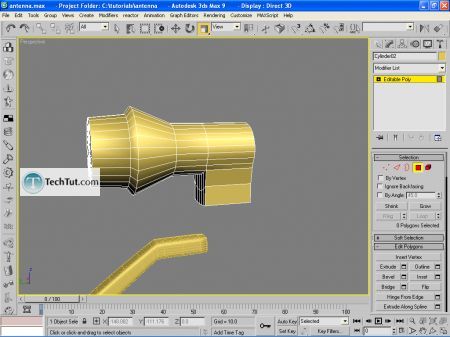
At the end create tube around the receiver and using same technique make binder for these receiver.
GO to: Page 1 : Model satelite dish part 1
GO to: Page 2 : Model satelite dish part 2
GO to: Page 3 : Texturing satelite dish
GO to: Page 4 : Lighting and rendering satelite dish
TechTut.com This tutorial is copyrighted. Partial duplication or full duplication is prohibited and illegal. Translation or usage of any kind without author�s permission is illegal.

 Join our RSS feed
Use our RSS feed to get the latest published tutorials directly to your news reader.


