Added: 30 November, 2007
Group: 3D studio max
Create a soccer ball in 3D studio max
Author: TechTut.com
page: 5
Texturing the soccer ball
After that select all elements of the model and apply face extrude modifier with amount of 3.
Again add meshsmooth modifier,
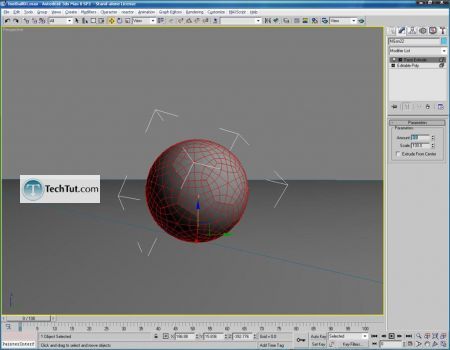
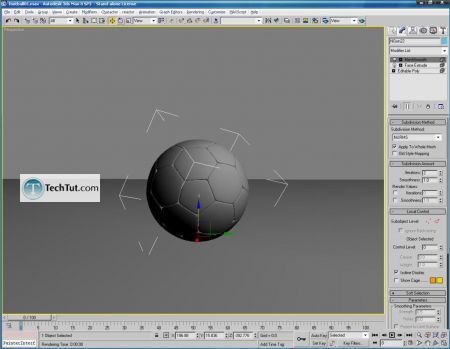
Next itâs time for texturing.
Add edit modifier to the ball select the elements you want to texture and open material editor. For this purpose we will use Multi â Sub object material.
In first slot change a color to black and in second to white.
On both materials use noise map for bump with value of 50.
Apply black color to seclected elements, and white color to the other ones.
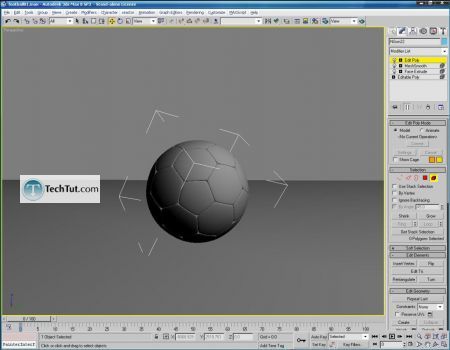
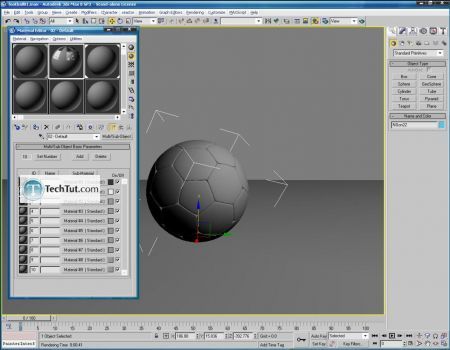
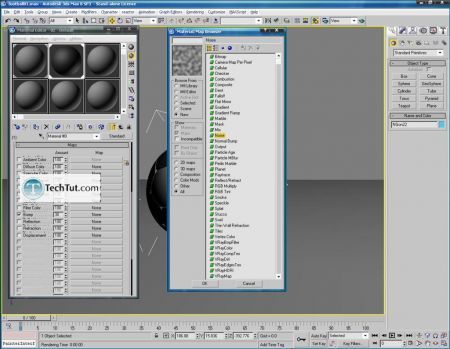
We are close to the end of this tutorial.
Letâs add one omni light, turned the Vray shadows on and change the Vray Shadow Parameters like shown below.
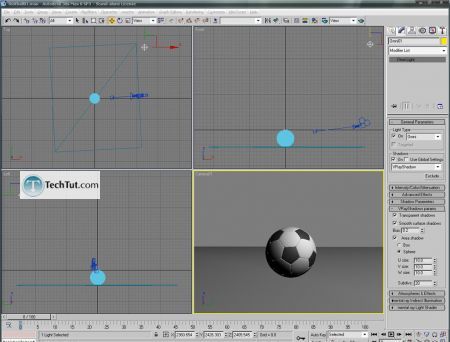
Next switch you render engine to the VRay (you must have this plugin witch demo version can be downloaded from the Vray website).
Use the setting for the Vray like shown below.
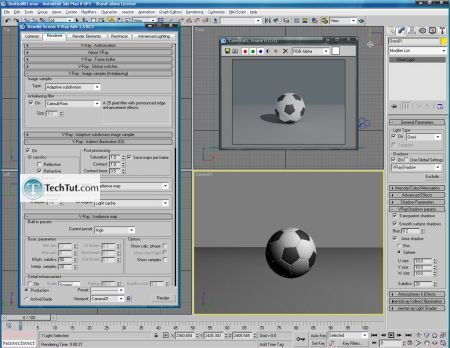
Hit render
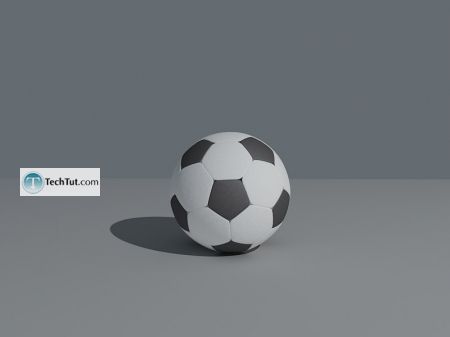
That is you final render of the soccer ball.
GO to: Page 1 : Make a soccer ball object
GO to: Page 2 : Make a round shape for a ball
GO to: Page 3 : From one half to full object using mirror
GO to: Page 4 : Use mesh modifier to attach all parts
GO to: Page 5 : Texturing the soccer ball
TechTut.com This tutorial is copyrighted. Partial duplication or full duplication is prohibited and illegal. Translation or usage of any kind without author�s permission is illegal.

 Join our RSS feed
Use our RSS feed to get the latest published tutorials directly to your news reader.


