Added: 8 August, 2007
Group: Photoshop
Drawing a Lamp Tutorial done in Photoshop
Author: Note
page: 2
Create a bulb and putting it up together
Make a marquee selection that will look like a light bulb and realign/resize the selection by going to Select > Transform Selection.
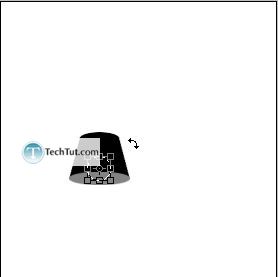
Fill with a yellow color (doesn’t matter what hue, we’re going to be changing all the colors).
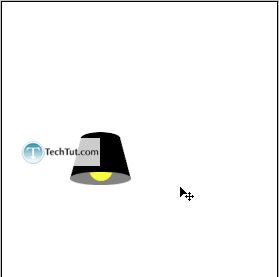
Create a new layer where the screenshot shows you to make it.
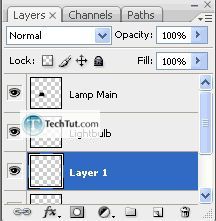
Marquee selection like such…
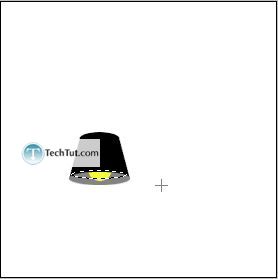
Fill with black (this color DOES matter, unlike the other colors.
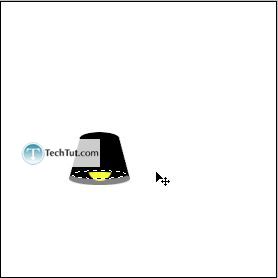
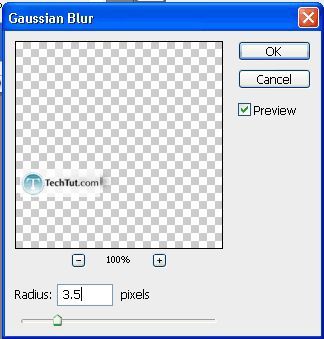
Deselect the selection (“Ctrl + D”) and then Filter > Blur > Gaussian Blur. I chose 3.5 px for the blur radius.
Lower the opacity to 80% and then with the shadow layer still selected, Ctrl + Click the main lamp layer, then Shift + Ctrl + Click on the gray layer. Ctrl + Shift + I to invert the selection and then press “Del”.
Step 7. Select the lamp main layer and then Ctrl + Click it. Select the following colors (or something close to it).

Gradient settings:


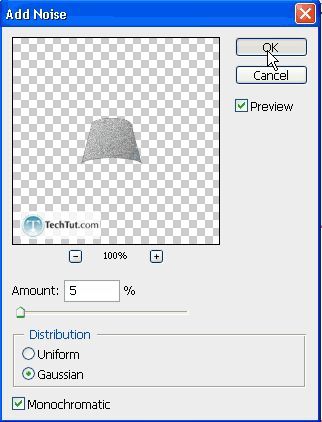
With the selection still selected, Filter > Noise > Add Noise.
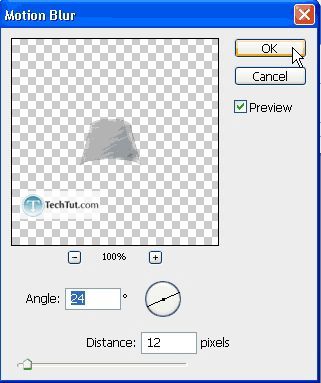
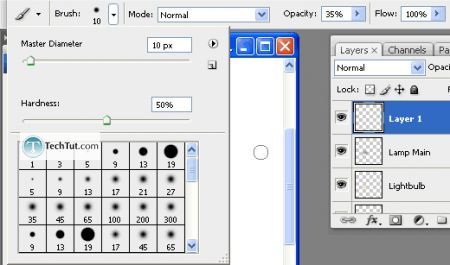
Create a new layer above the lamp main layer and now with a white brush…
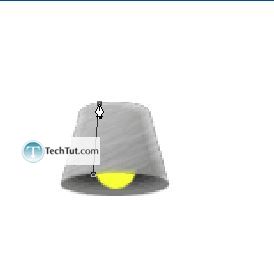
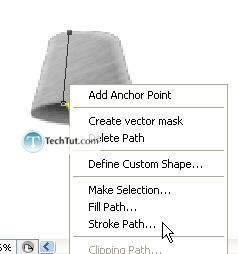
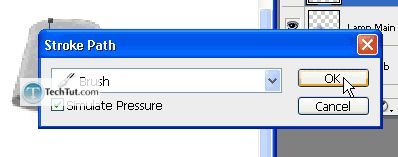
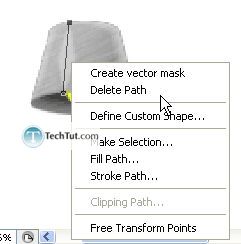
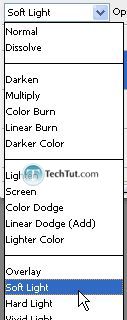
Now create a new layer and then Ctrl + Click on the lamp main layer.
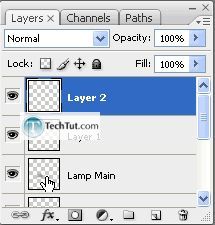
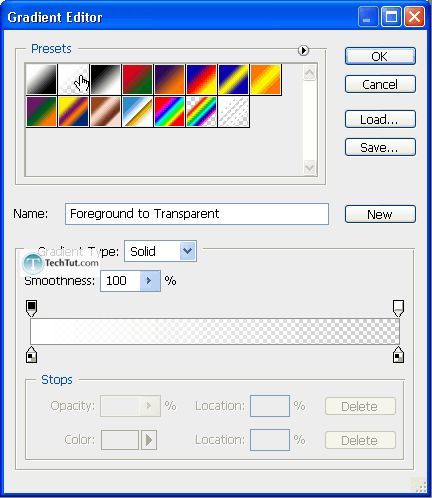
Get the following gradient settings:
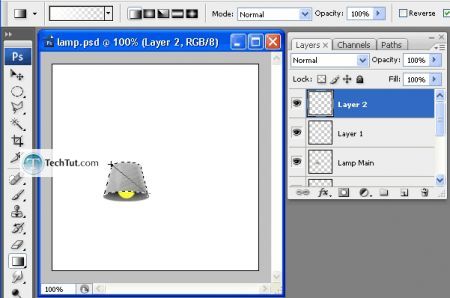
Using the Free Transform Tool, make the reflection proportionally smaller by holding down “Shift”.
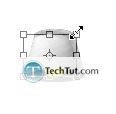
Then, move it back to the center or wherever you see fit.

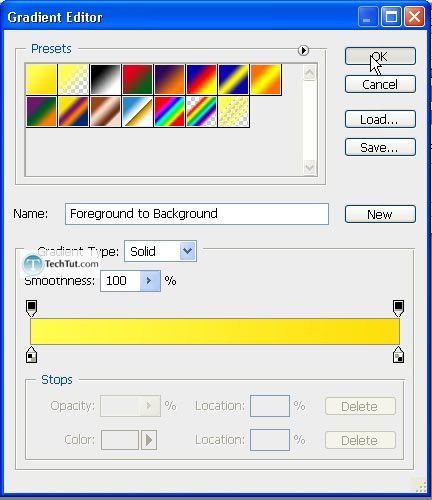
Step 8. Time to fix up the light bulb. Select the light bulb layer and then Ctrl + Click it. Get something similar to these 2 colors:

And the following gradient settings:

GO to: Page 1 : Drawing a lamp
GO to: Page 2 : Create a bulb and putting it up together
GO to: Page 3 : Glowing and finishing touch
TechTut.com This tutorial is copyrighted. Partial duplication or full duplication is prohibited and illegal. Translation or usage of any kind without author�s permission is illegal.

 Join our RSS feed
Use our RSS feed to get the latest published tutorials directly to your news reader.


